
Electronic files of any type are always an important part of any investigation. You can easily load any type of electronic file or media through CloudNine Analyst's import system.
To import files and media you will want to select Computer Activity under the import section within the desired Project.
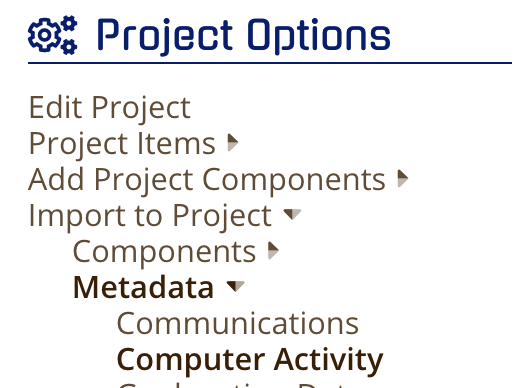
For complete instructions on importing all forms of Computer Activity, see this article here.
To start, you will need to upload all corresponding files using ESI Sync to an evidence container, once complete you can use CloudNine Analyst to import the metadata that correlates to the files being uploaded.

 All imports that point to a specific file or files require that you upload those files to an evidence container.
 Please see the ESI Sync help articles for more information
Once your files are uploaded, you will want to create a corresponding load file. See our general instructions on load file creation for more information.
At a minimum, to ingest metadata related to electronic files, you will need to supply the following for this data to properly ingest:
- Control Number - Use the options to create one in CloudNine Analyst or you can have them in your load file.
- Date Time Created - Main date field that will display throughout the interface
- Attachment Path - The relative path inside the evidence container that contains the file
- Attachment Name(s) - The name of the file (see How do I map attachments to my metadata?)
While many fields are optional, you can supply the extracted text, original system path, artifact and other file related metadata where available as part of the electronic file associated metadata. You can see the full article on available fields and descriptions here .