CloudNine Analyst: How to Add a Project Evidence Container
How to Add a Project Evidence Container
Project evidence is mainly used as the container for all attachments and media in a collection. With use of ESI Sync, the evidence can be synced with the message (email, chat, text etc.) data. All imports need to have associated attachments and media loaded FIRST for best results (no need for an overlay import to resync).
Note: Evidence Containers can be created in all CloudNine Analyst products. See each product's import process on where you can add them.
ESI Sync Evidence Container
ESI Sync Evidence Container
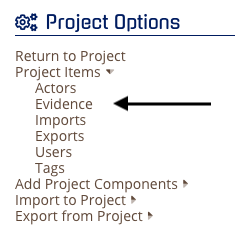
You can create your evidence container in ESI Sync or within CloudNine Analyst. To add evidence in CloudNine Analyst you can go to your Project Options within the project and expand Project Items and select Evidence.


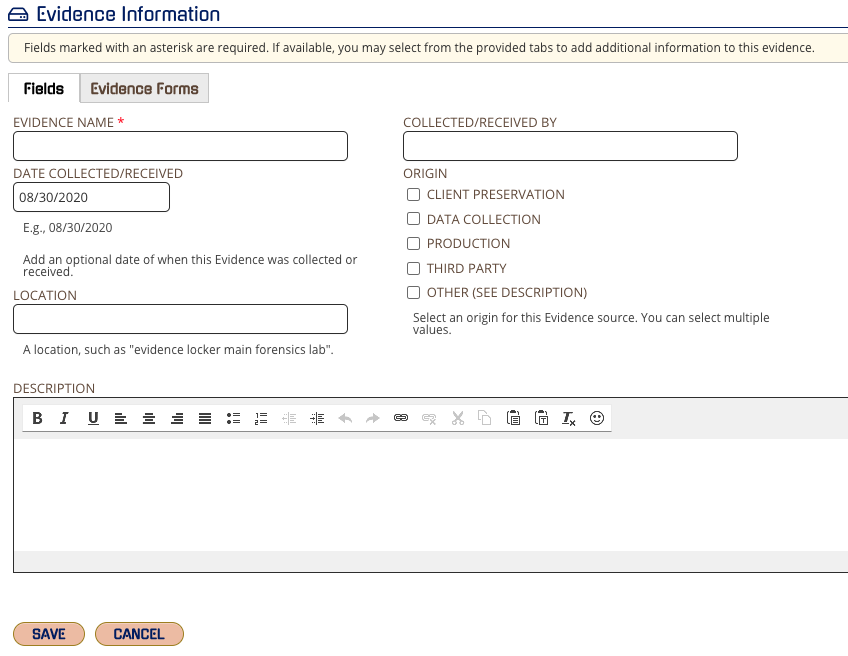
Add in the key information you have for the project evidence. This can also be used as your chain of custody documentation throughout the project.

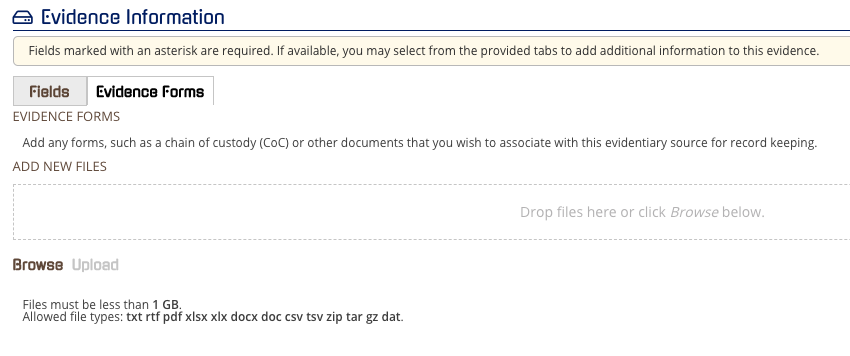
If you have any forms you would like to add like you can upload those files in Evidence Forms. Drag and drop the file or browse to select the file.

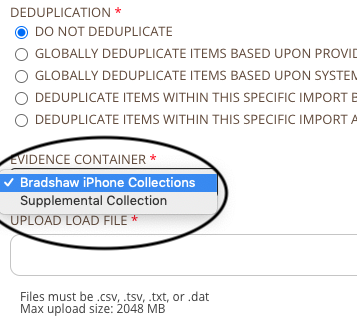
Click SAVE and you can start syncing this data with your uploads. For example, you can see this in the dropdown for imports:

