CloudNine Analyst: How to Create an Evidence Container
How to Create an Evidence Container
If you need to create a new evidence container, you can do so through the ESI Sync's Evidence Container configuration screen.

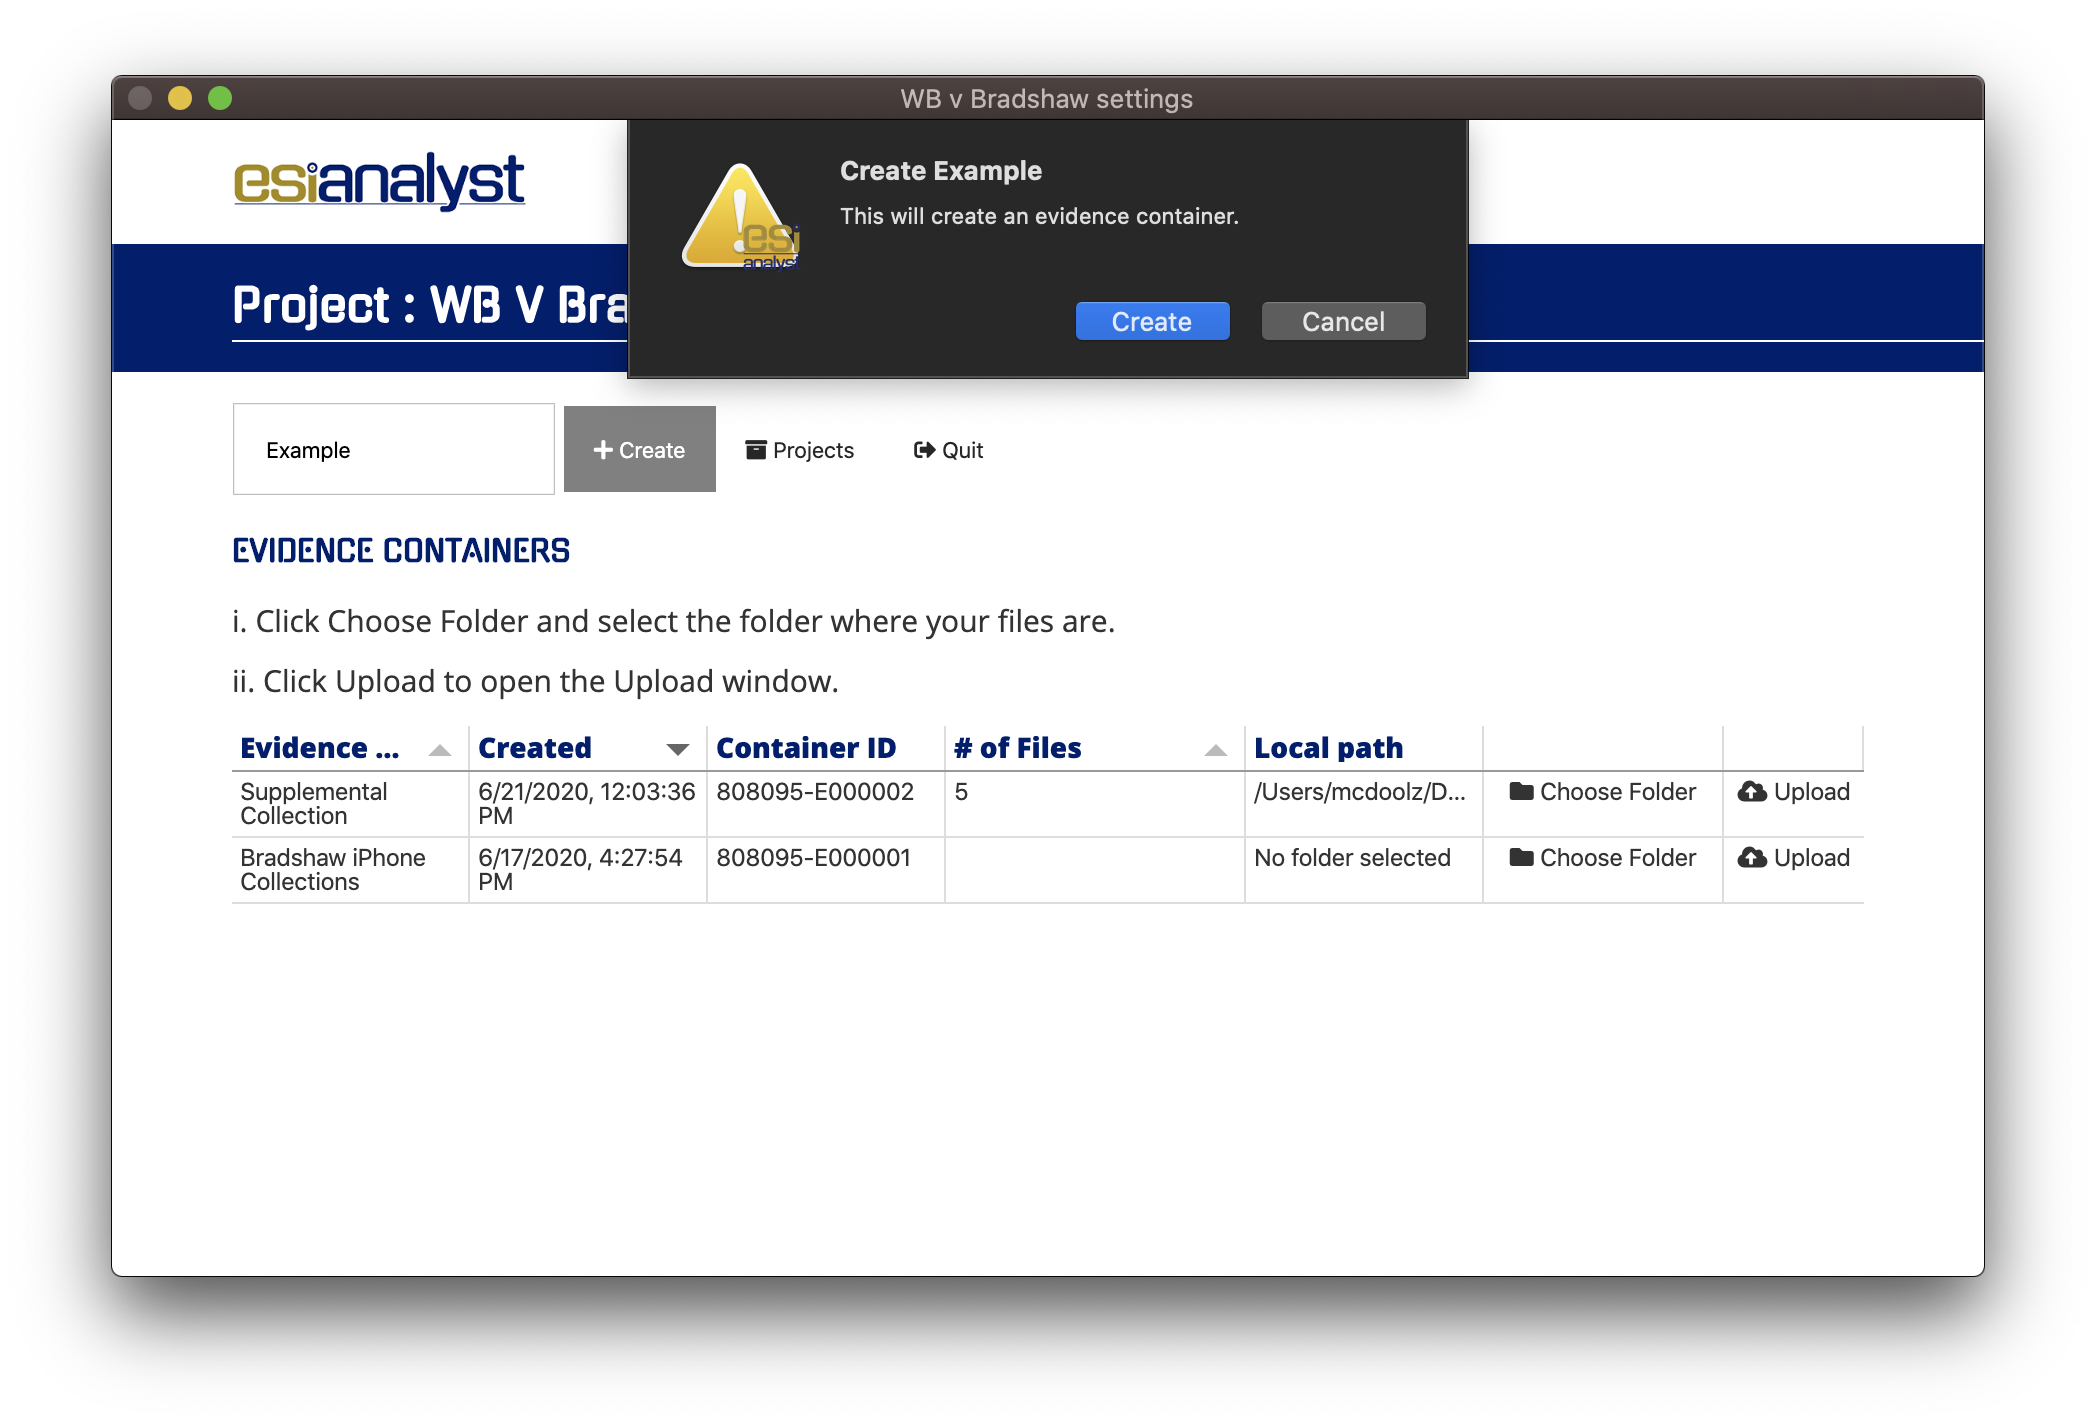
Type the name of the container you wish to create into the "New evidence container" text box and click the Create button when you're ready to create your container.
You'll be shown a confirmation dialogue where you'll be asked if you're sure you wish to create the container.

Confirm this and the system will begin generating a new container.
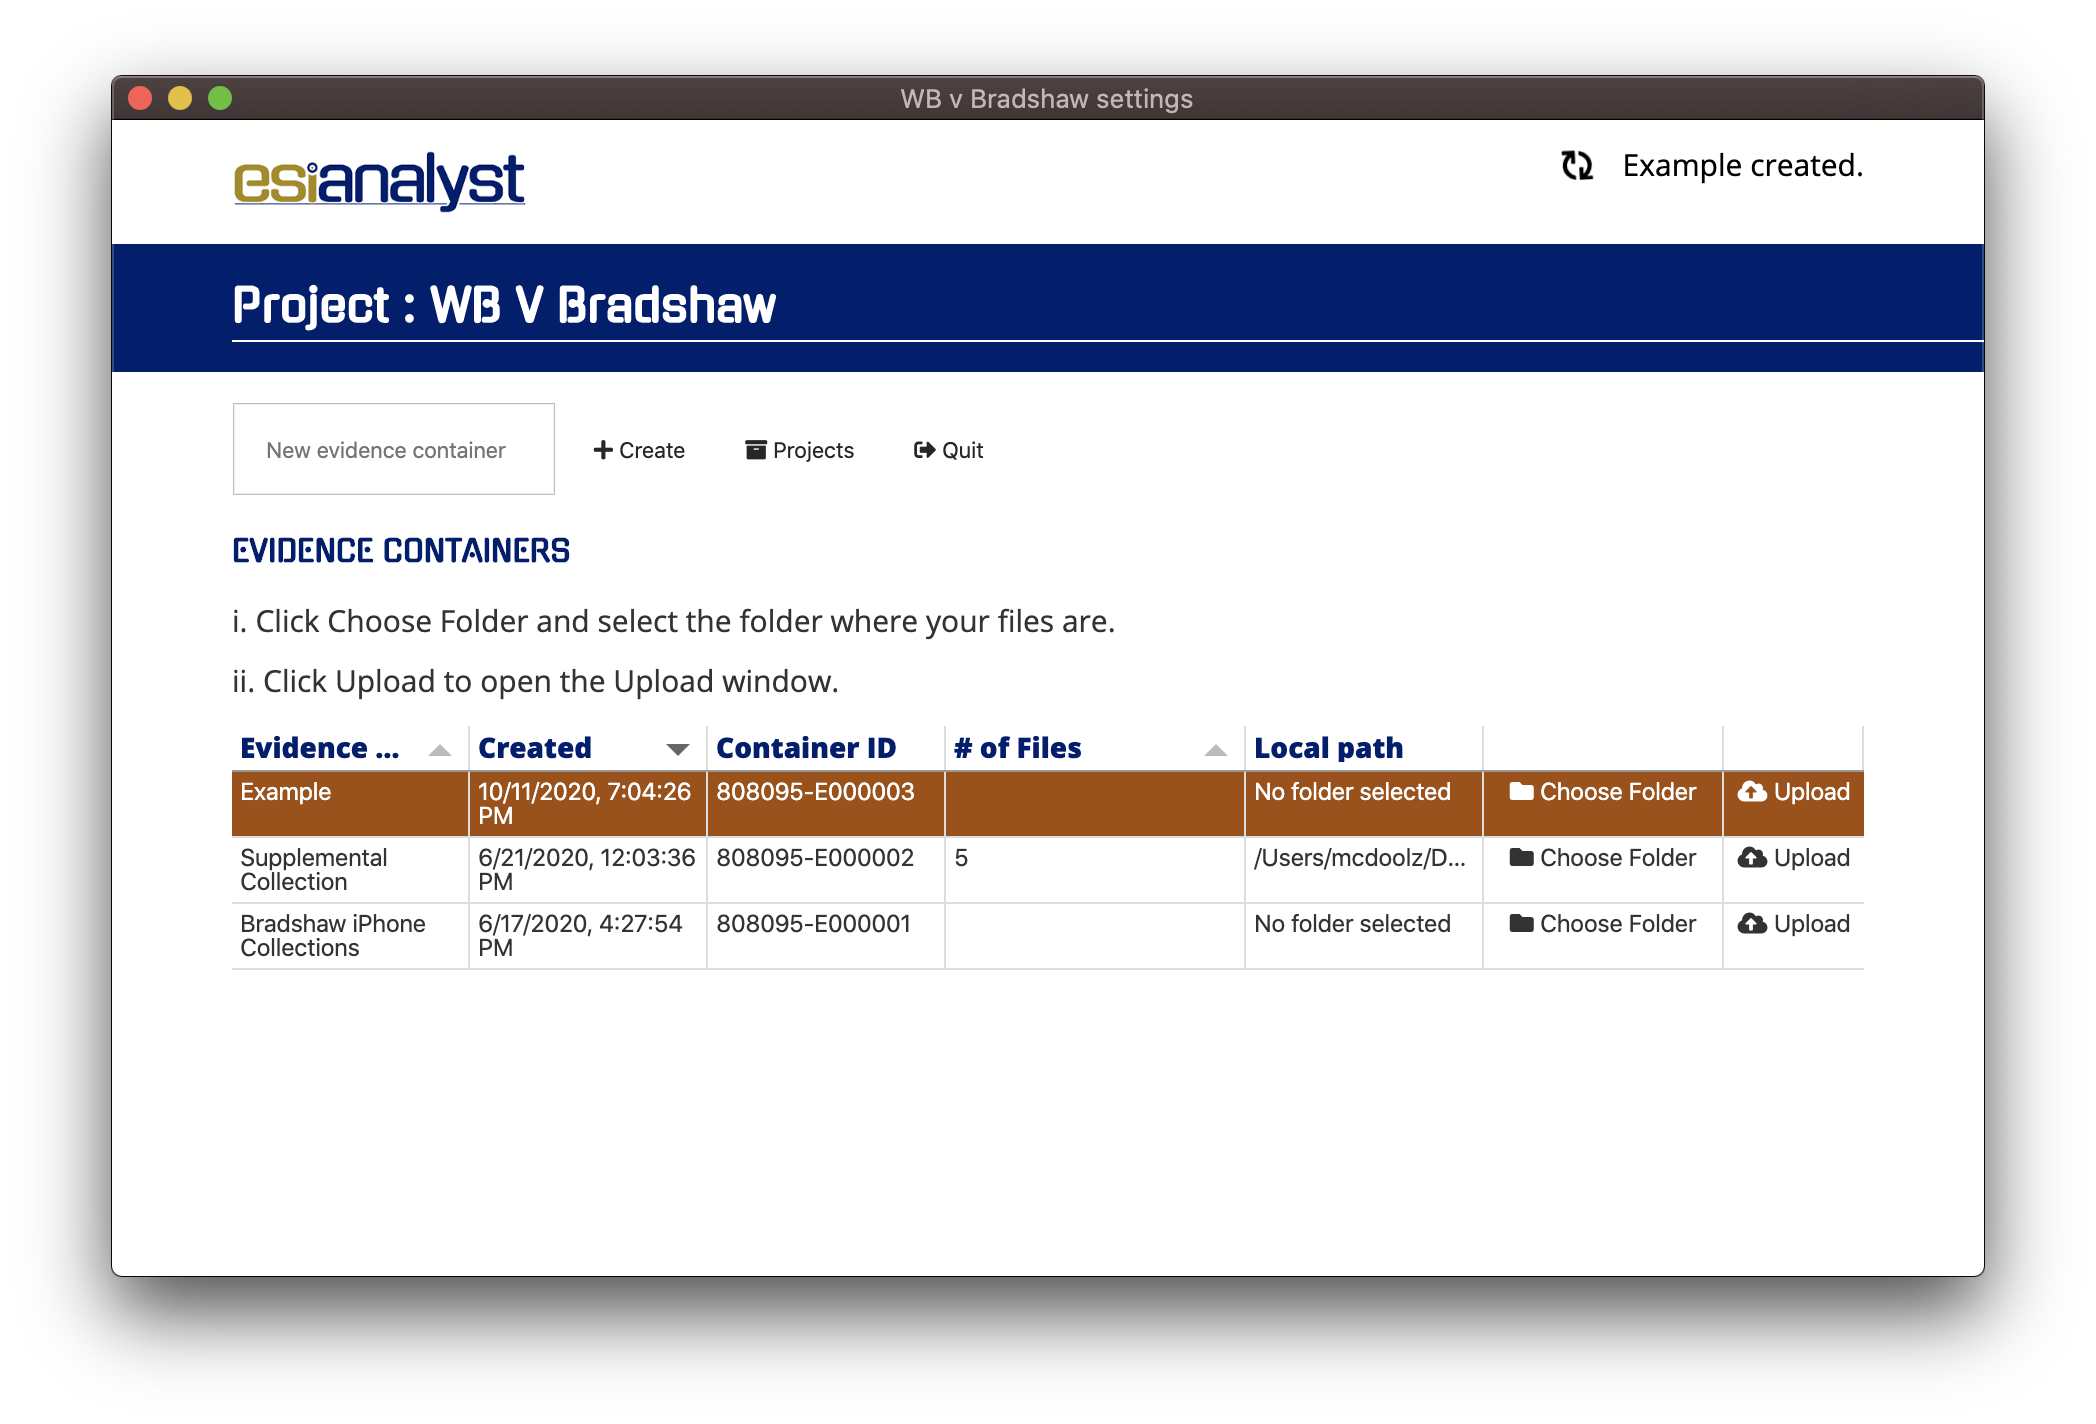
If it's successful, you'll see a confirmation message and your container will appear in the list of evidence containers as shown below.

You may now click Choose Folder to upload a local folder of files to the newly created container.
