During an investigation, it may be helpful to see where certain people were either in a specific date range or across the entire timeframe of the data on a physical map. All geolocation data whether it is from latitude/longitude, physical address, or IP address, CloudNine Analyst will put that information on the map and the icons will show the data type.
Navigation
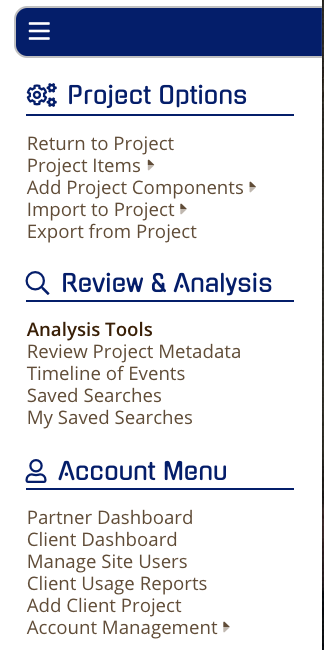
To navigate to the geolocation map, click on "Analysis Tools" in the "Review and Analysis" section of the project dashboard.
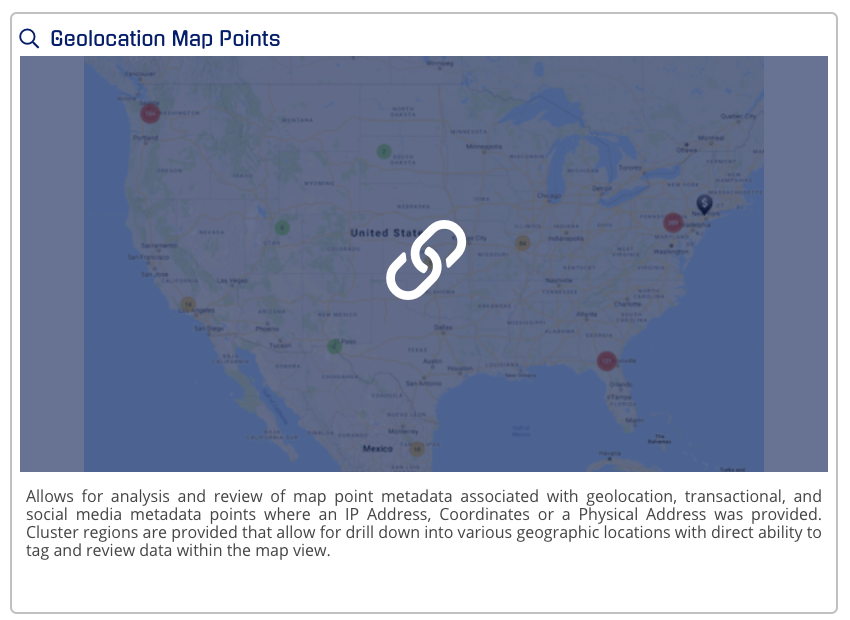
Then hover over the Geolocation Map Points tool. Once you see the tool turn gray and display a chain-link, click on it.
Filters
Before you launch into the full-screen map review you have options to filter or expand your "Items Per Page" as default is at 100 to ensure a fast load of the map and initial items.
These filter options are:
- Activity Date
- Control Number
- Actor
- Tag
- Not Tag
- Type
- Search
- Items Per Page: default 100
Zooming In
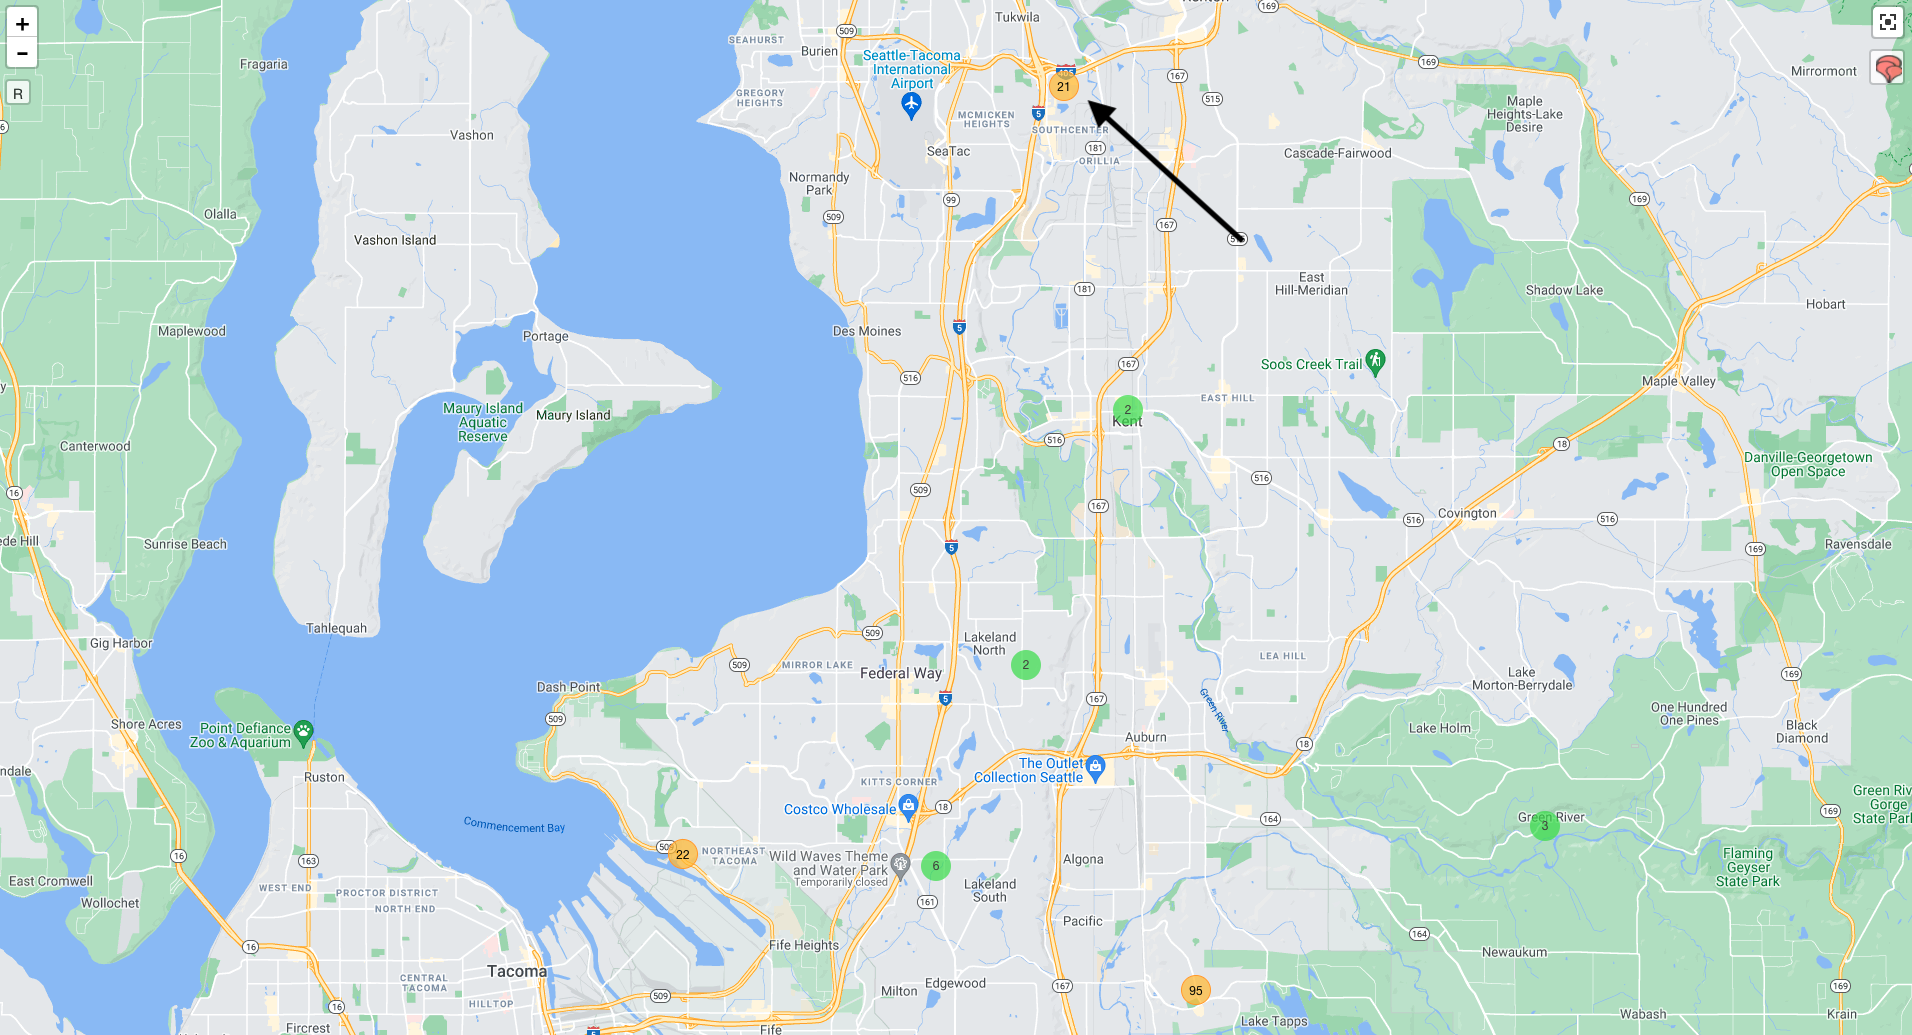
In the map view, you can zoom in to view and tag individual map points. You can zoom in with either the + or - or click on any of the numbered circles and you will zoom in.
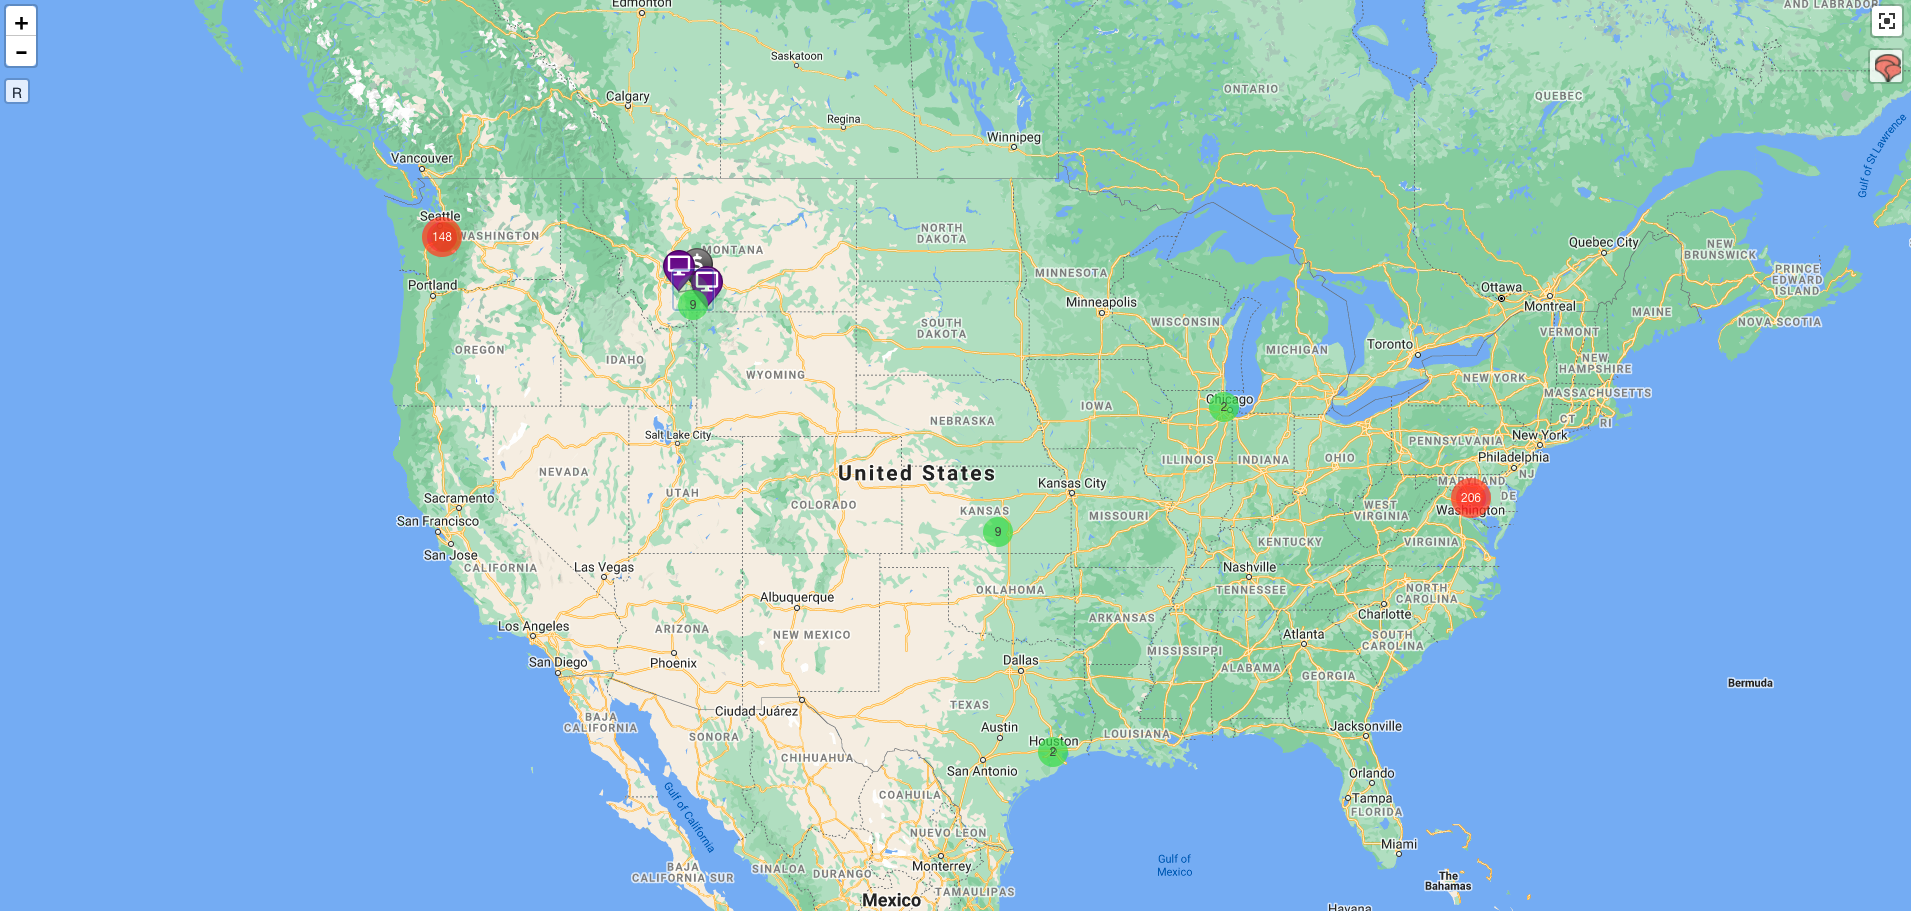
For instance, you can click the "148" circle near Seattle, WA and you will immediately zoom into that area and the points will expand. Notice the "21" Circle near the Airport at the top. Clicking again on the "21" circle will zoom in again to those geolocation points:
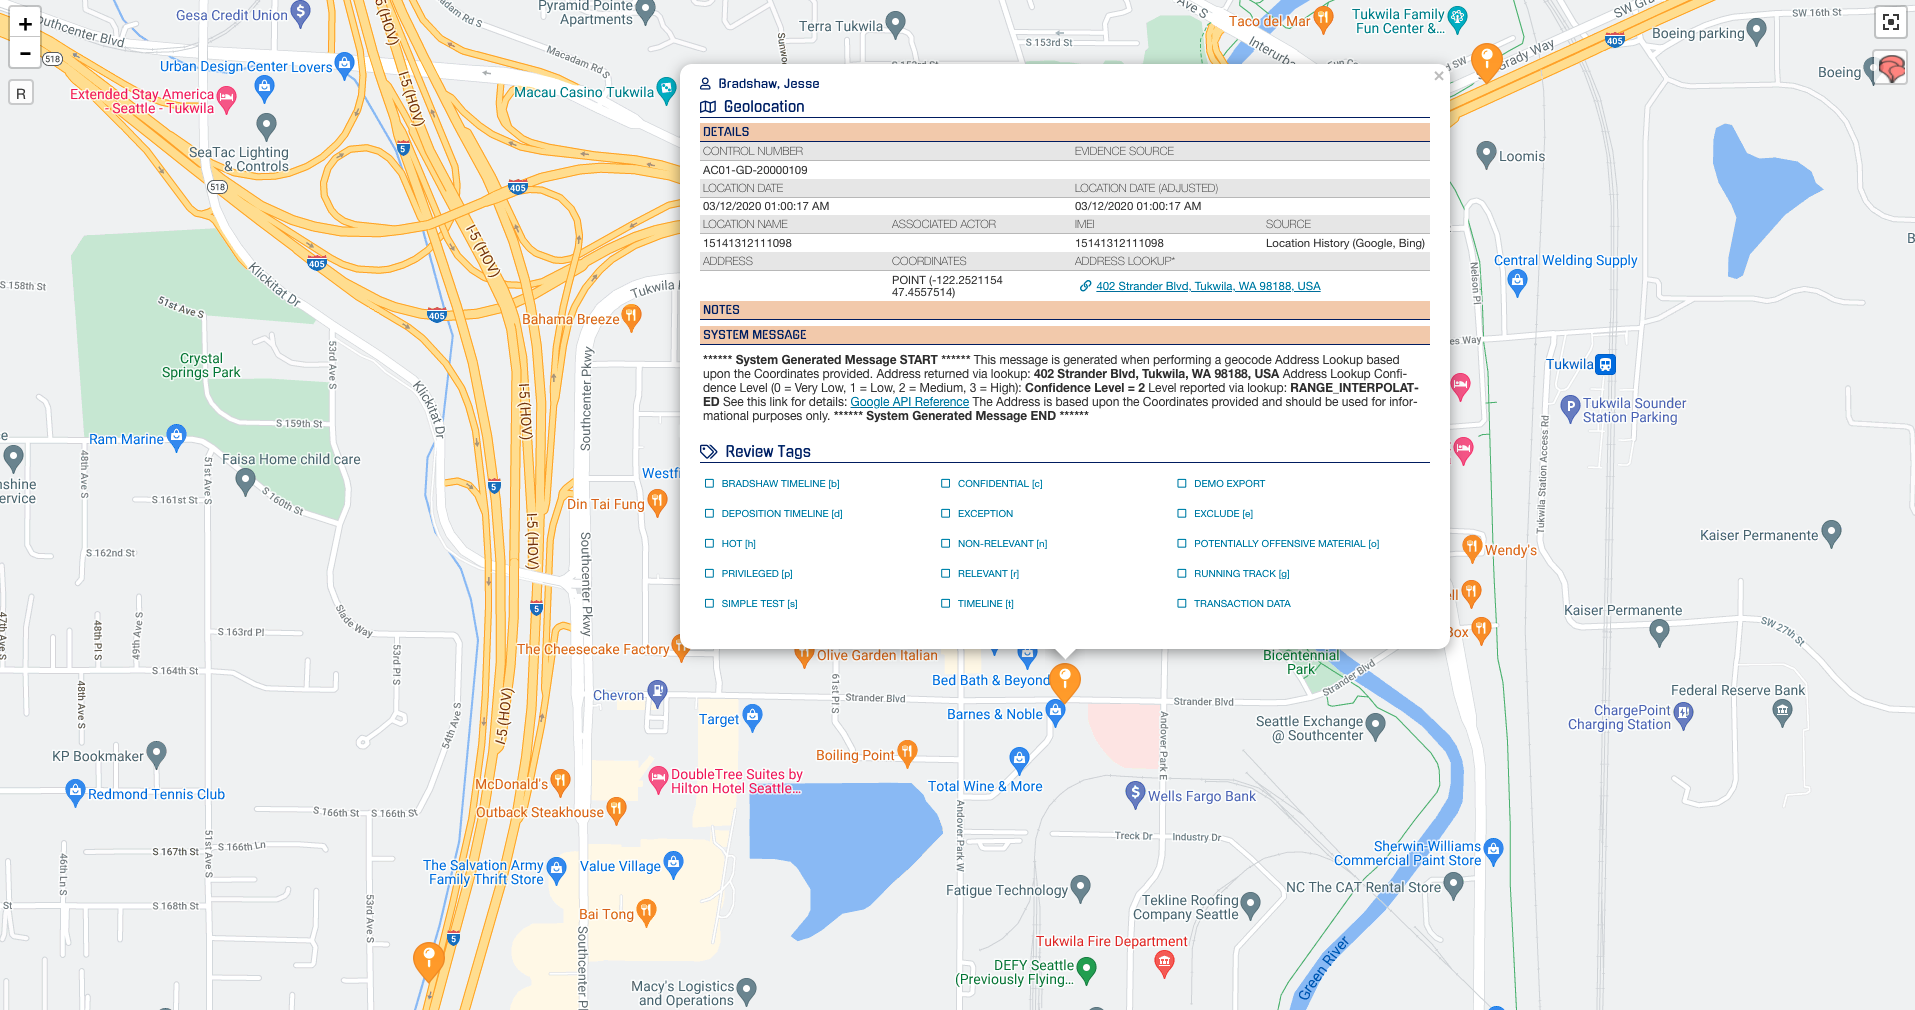
Once you do the final zoom you will see all of the recorded geolocation points.
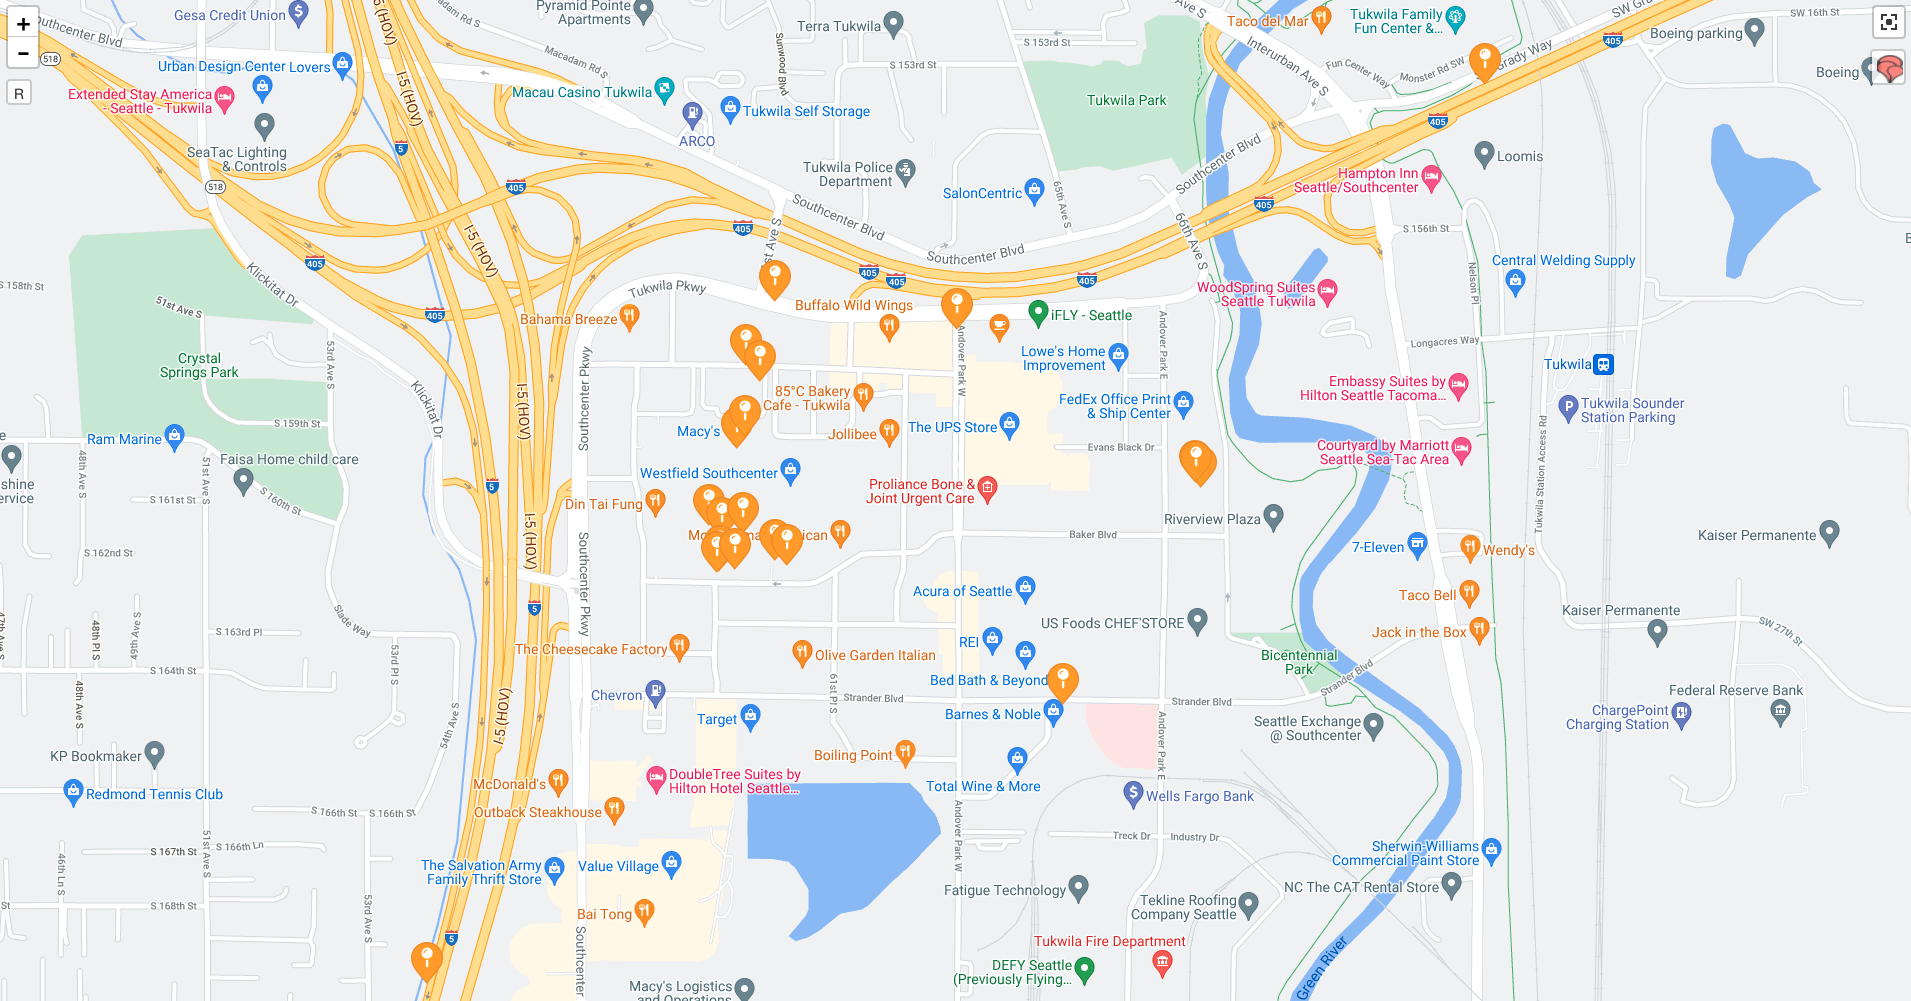
You can click on any of the items to view and review tag if desired.