
To load data to a client, the client will need to have projects assigned.
If you have not created a project already through CloudNine Analyst, you can do so in ESI Desktop. You can also edit and manage the projects as well.
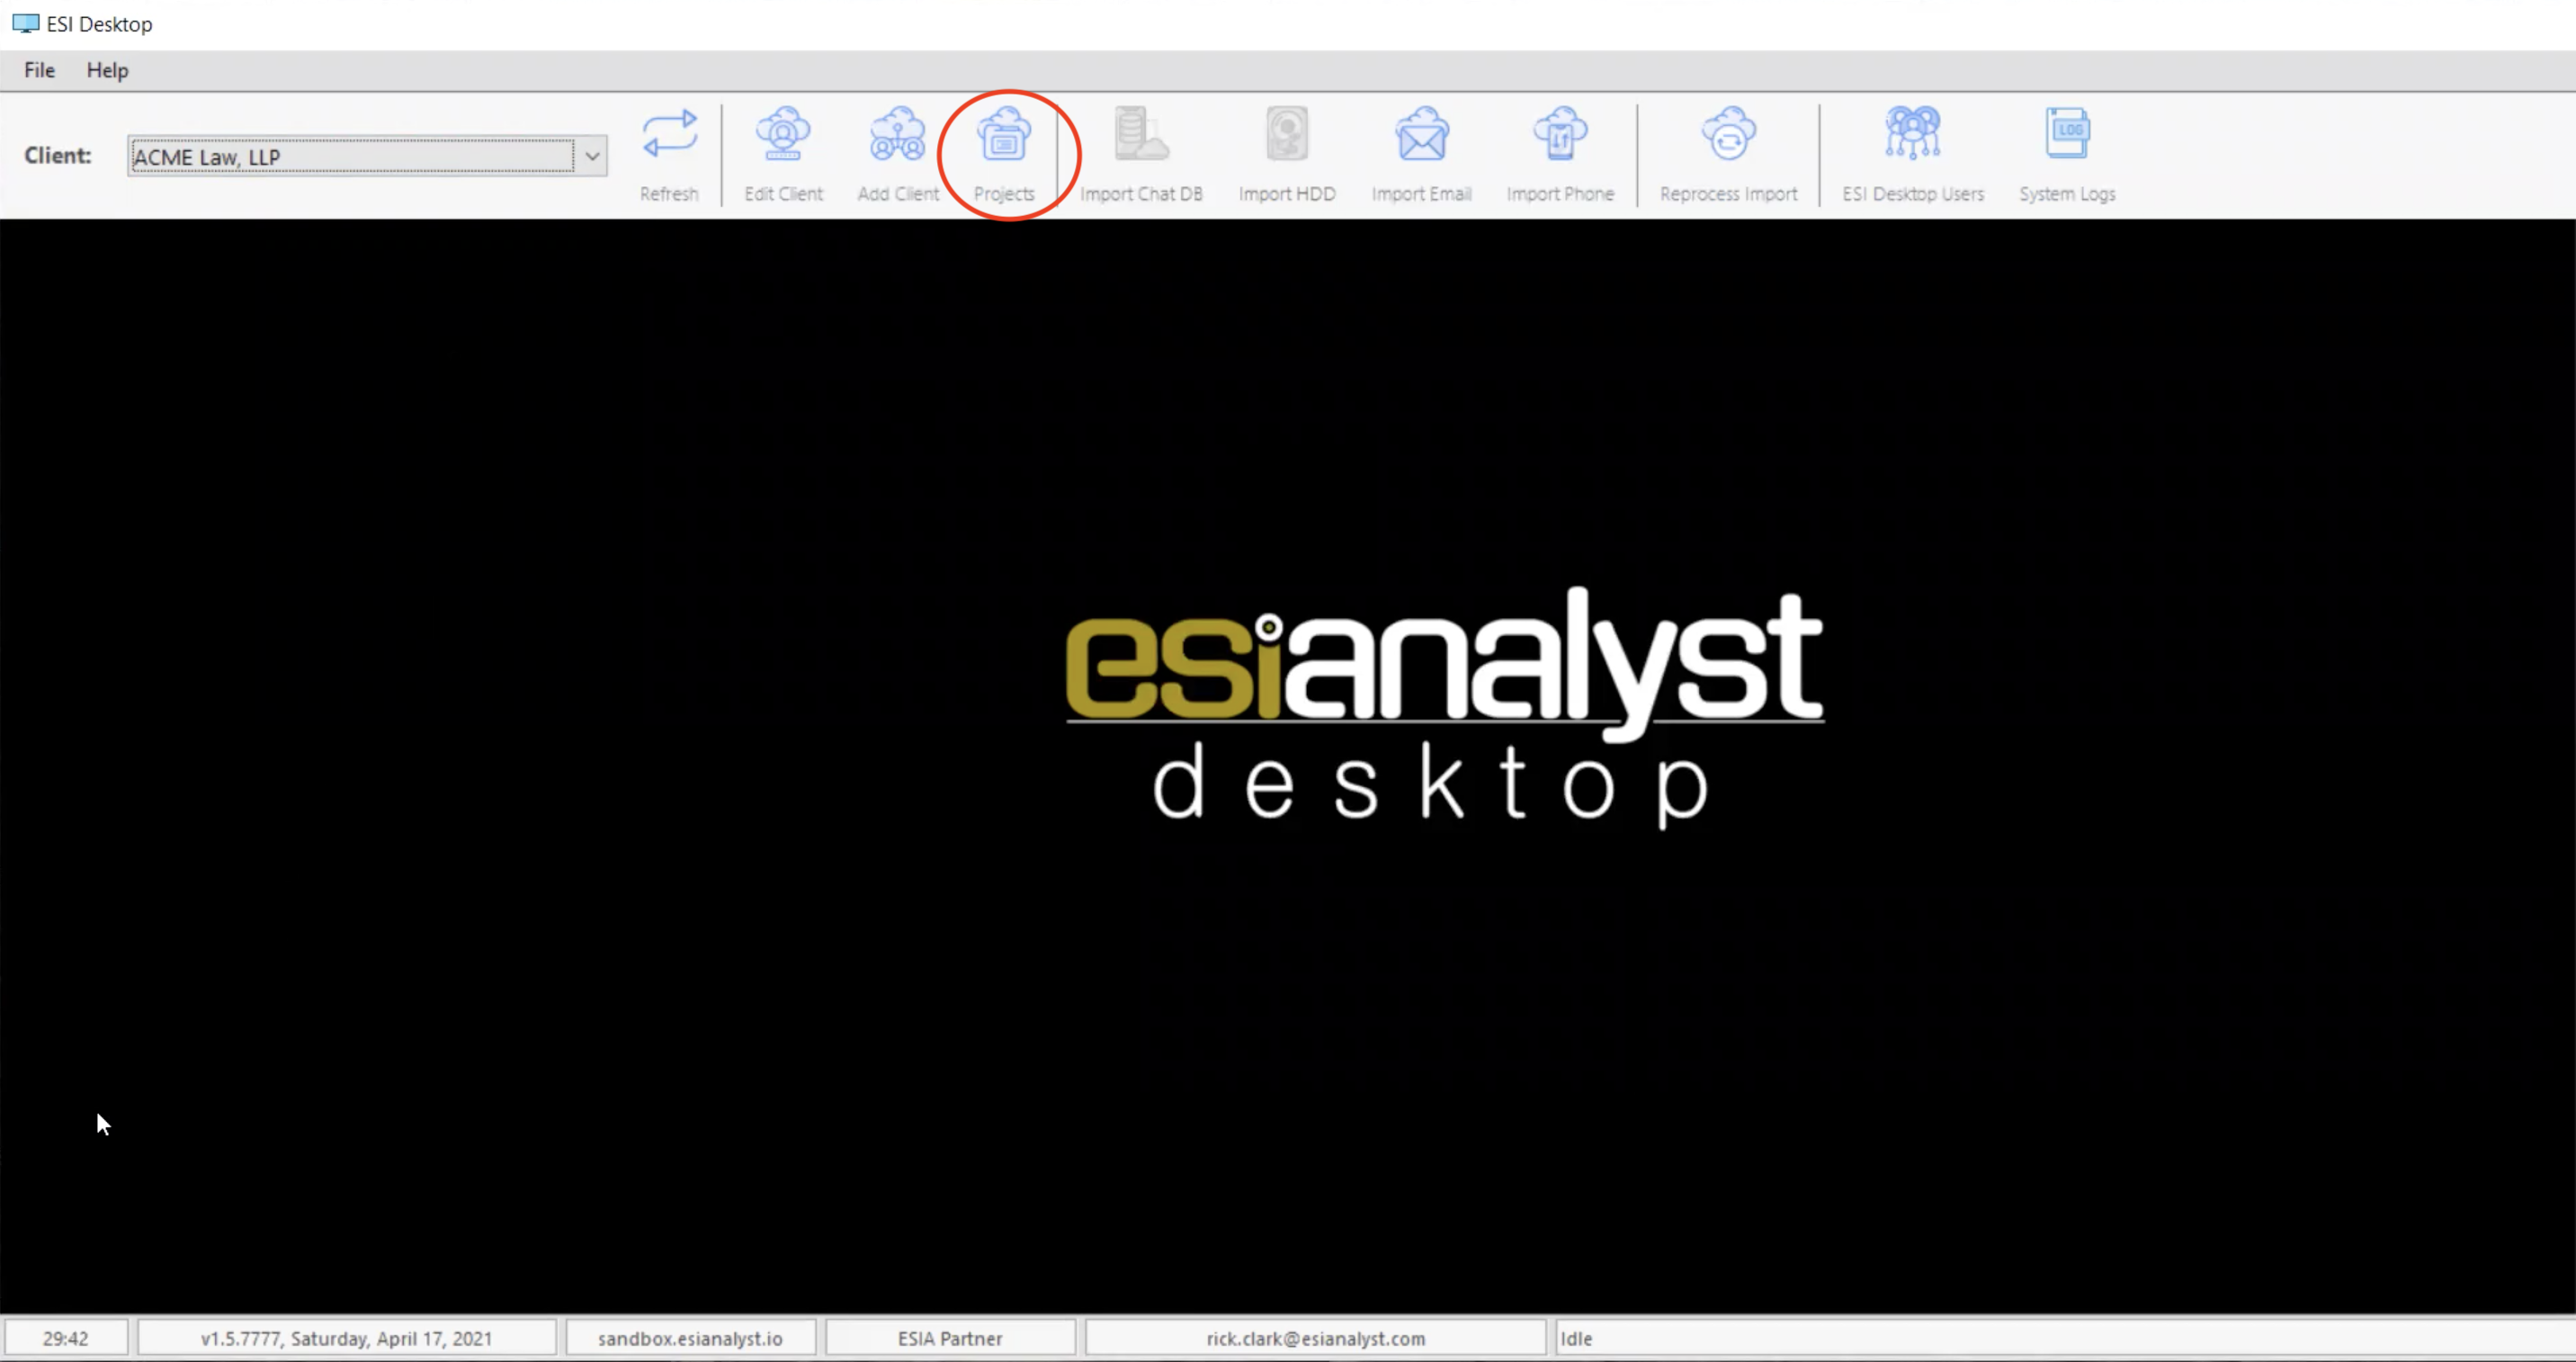
A project can be created either from the Project Management tools or during the process of creating a data import. To access the Project Management Tools, click on the "Projects" button in the toolbar.
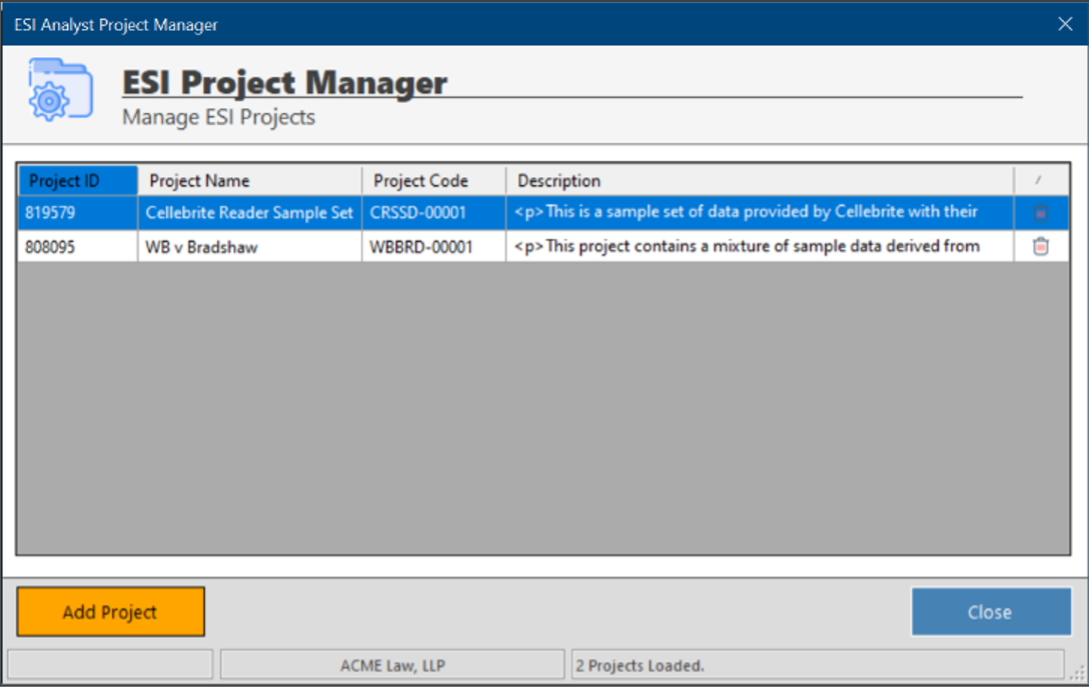
You will then be presented with the ESI Project Manager. The project manager displays all of the current projects for the selected client and allows you to edit a project or create new projects.
Edit Project
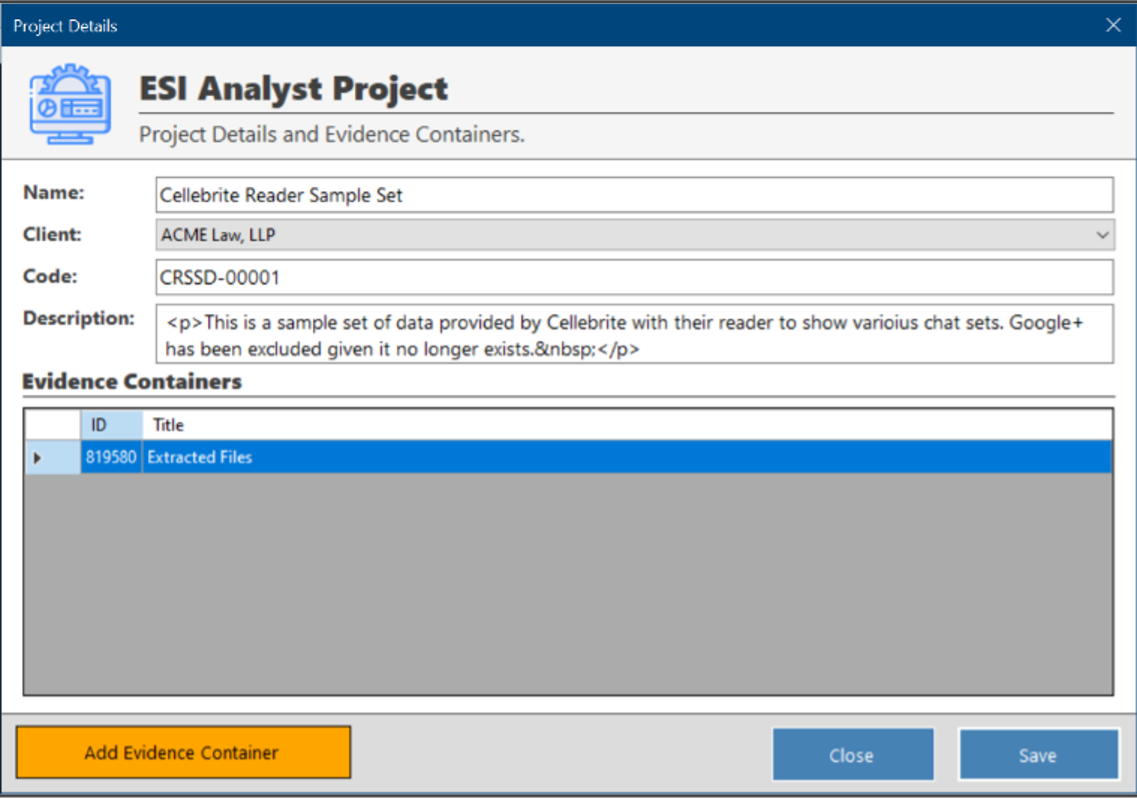
To edit a project simply double-click on the project and it will open the selected project in the Project Editor. Here you can change the project’s Name, Project Code, and Description. When done click on the “Save” button to record the changes. These will appear immediately in CloudNine Analyst. You can also add Evidence Containers to the project here, though in most cases Evidence Containers will be dynamically generated when loading new evidence to CloudNine Analyst.
Create New Project
To create a new project, click on the “Add Project” button from the ESI Desktop Project Manager window and the New Project window will be displayed. Provide the Name, Project Code, and Description, and click on the “Create” button to create the new project. Again, once created projects are ready for data to be loaded to them and will appear in CloudNine Analyst immediately.