
If you're ready to upload files to your evidence container, you can click the "Upload Evidence" button next to an Evidence Container or a Project.
From this screen, you may select the evidence container you wish to upload to by clicking the drop down on the far right. If this is not visible, you should maximize the size of your applications window.
If you do not have a folder selected for an evidence container, you can click Evidence Containers to return to the containers screen and configure a folder.
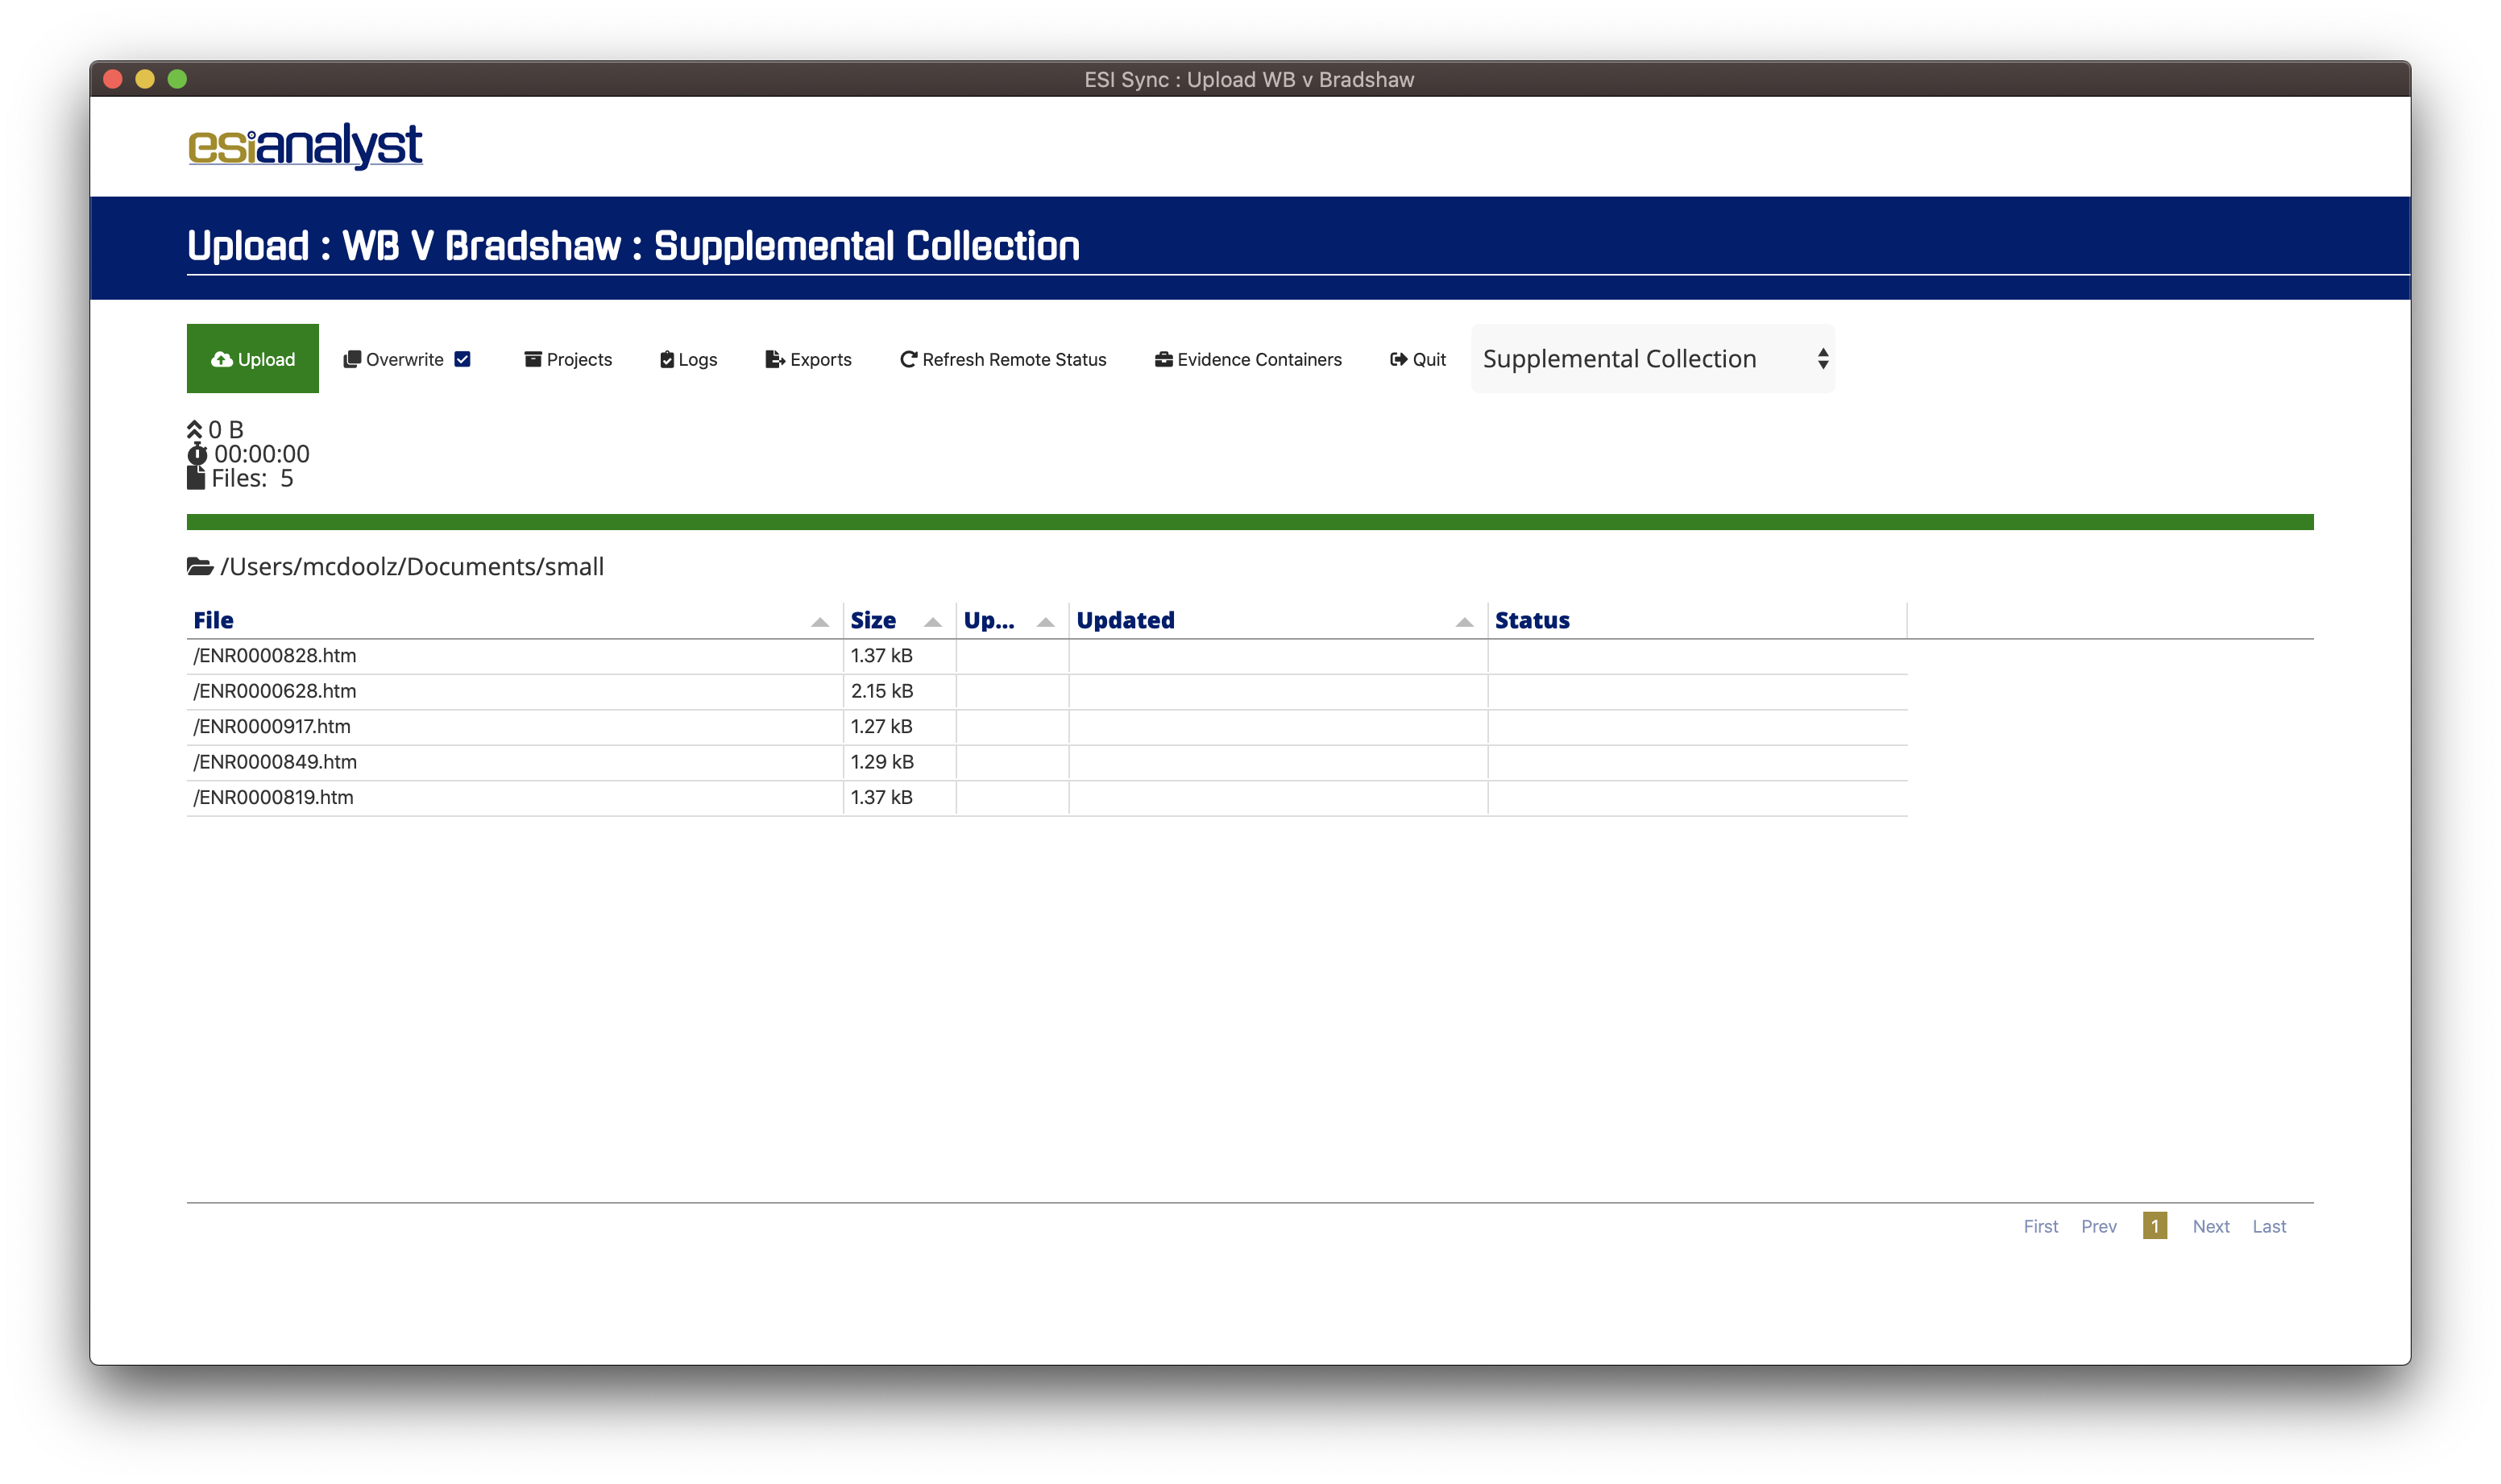
When uploading files you have the option of overwriting, or avoiding overwriting files. By default, the system expects to destructively upload and overwrite any existing files on the remote server. If you uncheck Overwrite, the system will conduct a comparison between your local files and the remote files listings to define which files to upload.

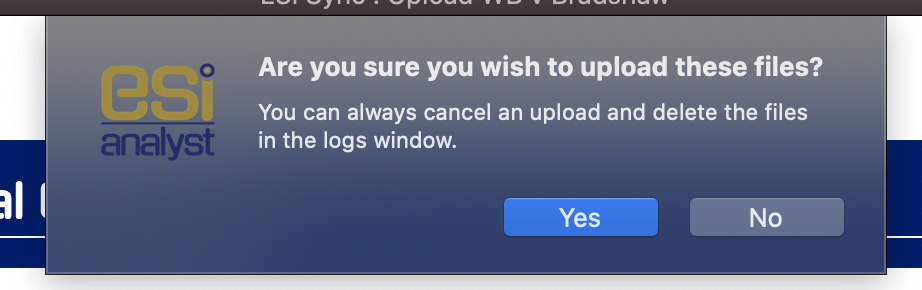
Clicking the upload button will ask for confirmation before starting the upload process.
The progress indicator will begin to climb with your uploads as they process.
If you click Cancel you will be asked to confirm the cancelation; click Yes to stop the upload.

When the process is complete, the system will attempt to update the remote file system with the new uploads.
If the application is closed before this last process is finished any files uploaded will not be properly detected by the platforms file system and the upload will have to be performed again.