
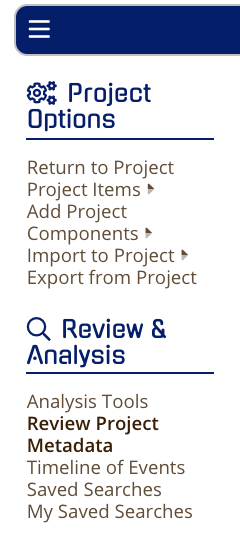
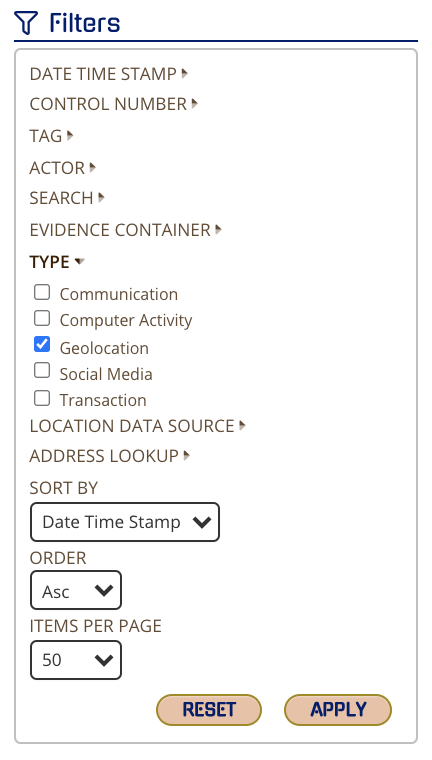
To see geolocation in item view, first click on "Review Project Metadata" in the "Review and Analysis" section of the project dashboard. In the filters box to the left, click on Type, and then select Geolocation.
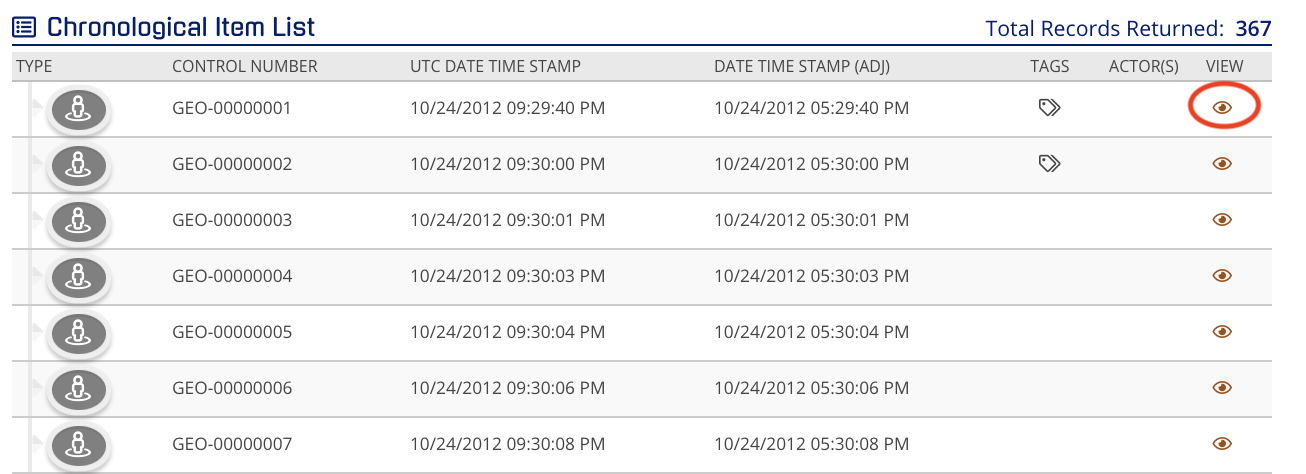
From the Chronological Item List, select an individual item by clicking on the eyeball.
You will then have your map view where you can zoom in and out with the + or – or double clicking anywhere on the map will also allow you to zoom in. You can tag the item as well with the review tags that are found a the bottom or below the map. Expanding the actor will also allow you to see the actor name and other important metadata.
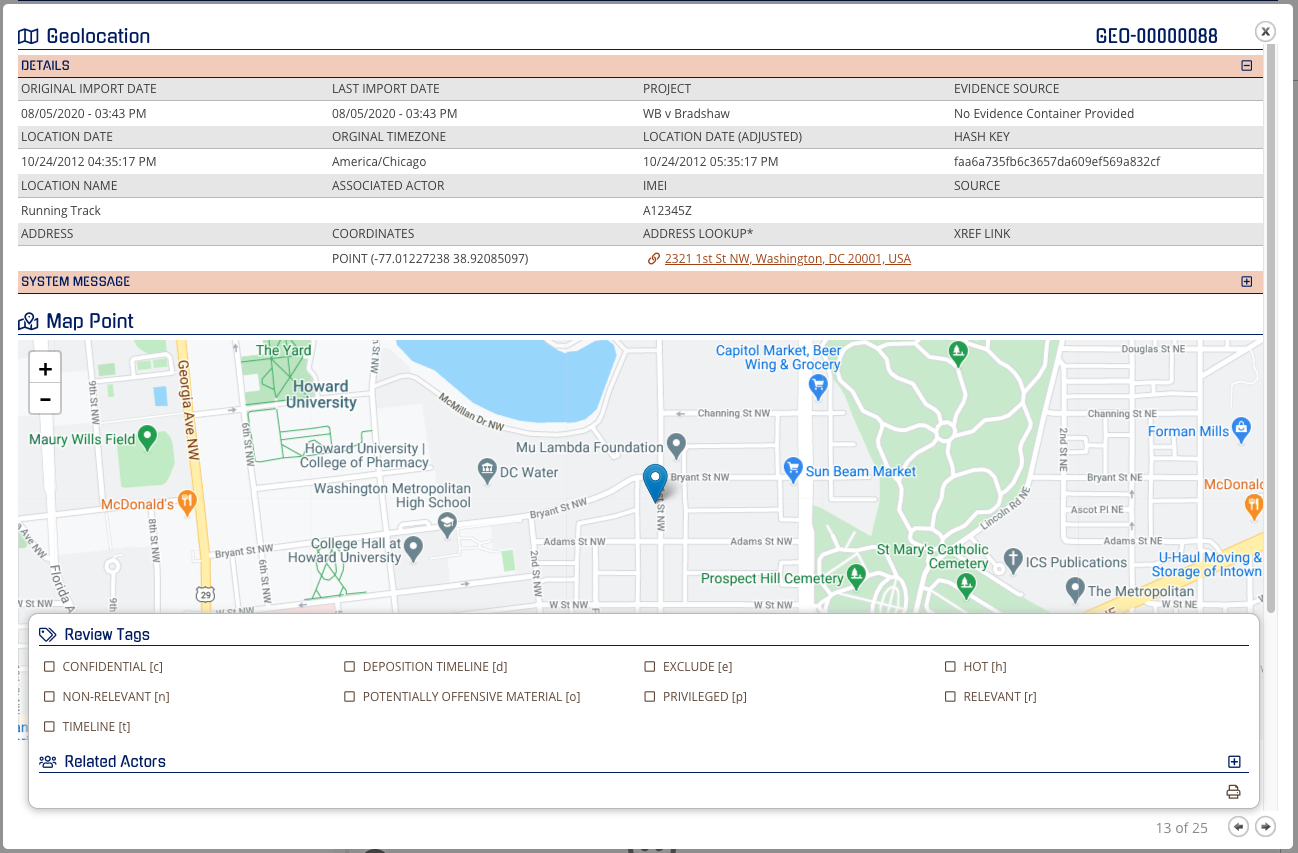
When viewing a single item from geolocation you will have a view that will show the fields of metadata that have been loaded into CloudNine Analyst. On the
details and throughout, you will see a + or - which will expand or contract the view of those metadata items.
Main items to note:
- Location Date
- Location Name
- Address
- System Message
You can also print to paper or PDF the full page by clicking on the printer icon on the bottom right. The navigation arrows will take you to the next or previous item in chronological order.