
Many of the displays in CloudNine Analyst provide an adjusted time stamp so that a user can see timestamps relative to their own timezone. This is useful in investigations to see real-time activities as they correlate to a specific timezone and useful should the data consist of sources spread across multiple timezones.
To set your timezone to a specific region to quickly change what the adjusted date-time stamps display, you can update your timezone in your own account profile.
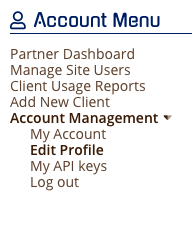
In your Account Menu, click on "Account Management" and then “Edit Profile.” At the bottom of the page, you have the option to select your time zone.
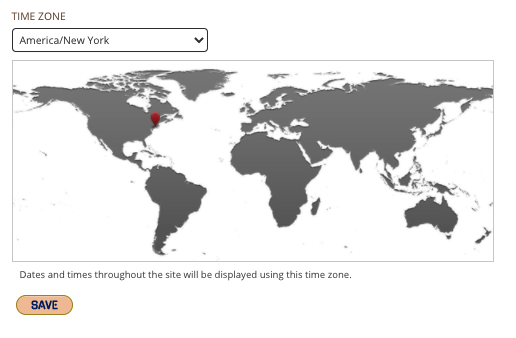
You can select your time zone by either:
- Hovering over the map until your time zone is highlighted. Click as close to your area as possible to select the correct time zone.
- Dropdown Menu: Use your mouse to navigate up or down until you find your exact time zone.
Timezone Map
Proper time zone selection allows you to always be up to date with daylight savings time changes and see the data as if you are in the proper time in which the action/item happened.
When properly selected, click “SAVE” and you will be taken to your “profile” page
Selecting other parts of the map, even in the same time zone may not be your exact time zone, so verify with the dropdown menu shown below.
When setting your profile's timezone, if the timezone map does not appear when you first navigate to the page, try refreshing the page in your browser.