No matter where you are in the search and analysis windows when you run a filter and/or search, you can save that “view” using Save This Search on your Save Menu. This saved search will take you back to that view whether it is the Chronological Item List, Timeline, Geolocation etc.
Note: Once you have saved your search, if new data is added to the project, those new items will display if they fit the search criteria
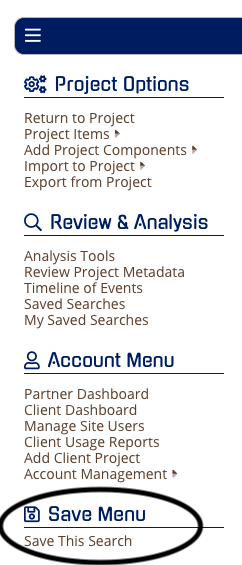
First click Save This Search on your right sidebar menu
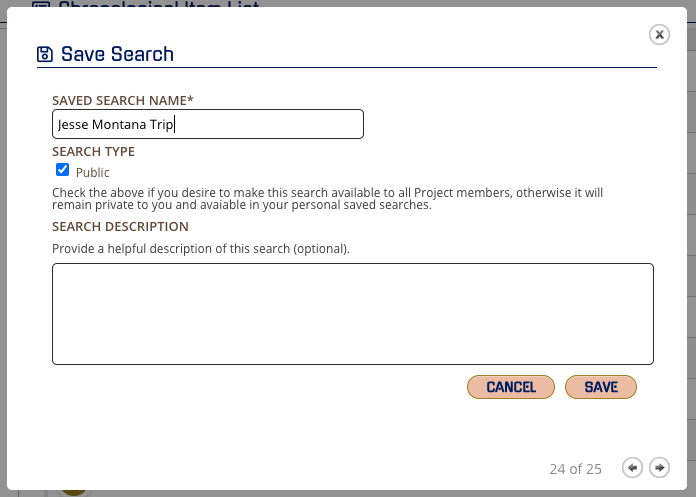
You can input the name of the saved search and then make this a public saved search for the whole team or if unchecked will remain private to just you. You can also add a description to communicate the team or make a note to yourself on what the saved search is about.
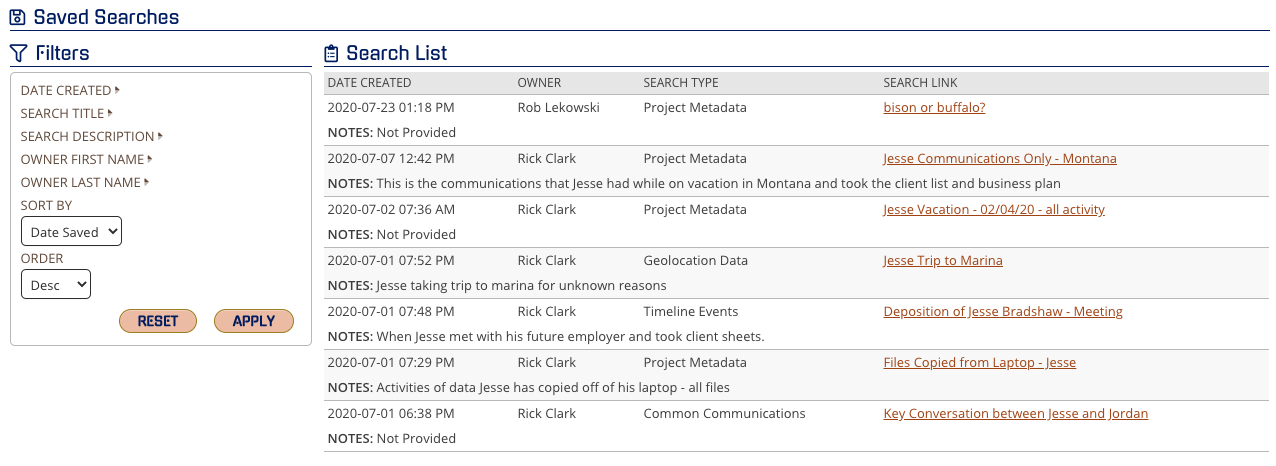
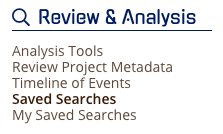
Once saved, you can see the saved search in either private or public options of Saved Searches and My Saved Searches.
Whether you are viewing all publicly available or personally saved searches, you will have the list with your quick link to that search. If you have an extensive list, you can use the filters to narrow down your results.