
When you have completed a review or want to export out a set of communication data, you can find "Export From Project" in your Project Options. By default, all data categories are selected.
To export the data you would like, you can use the filters. Select your Date Range, Actors, and/or Tag(s) OR you can use the saved searches as your export criteria. These are the only filters, so make sure you have your data tagged appropriately.
When setting up your export, start with your title. This title should be reflective of the data being exported like “Jesse Bradshaw Communications Export for Production” or “Jesse Bradshaw Supplemental Communications Export 1”.
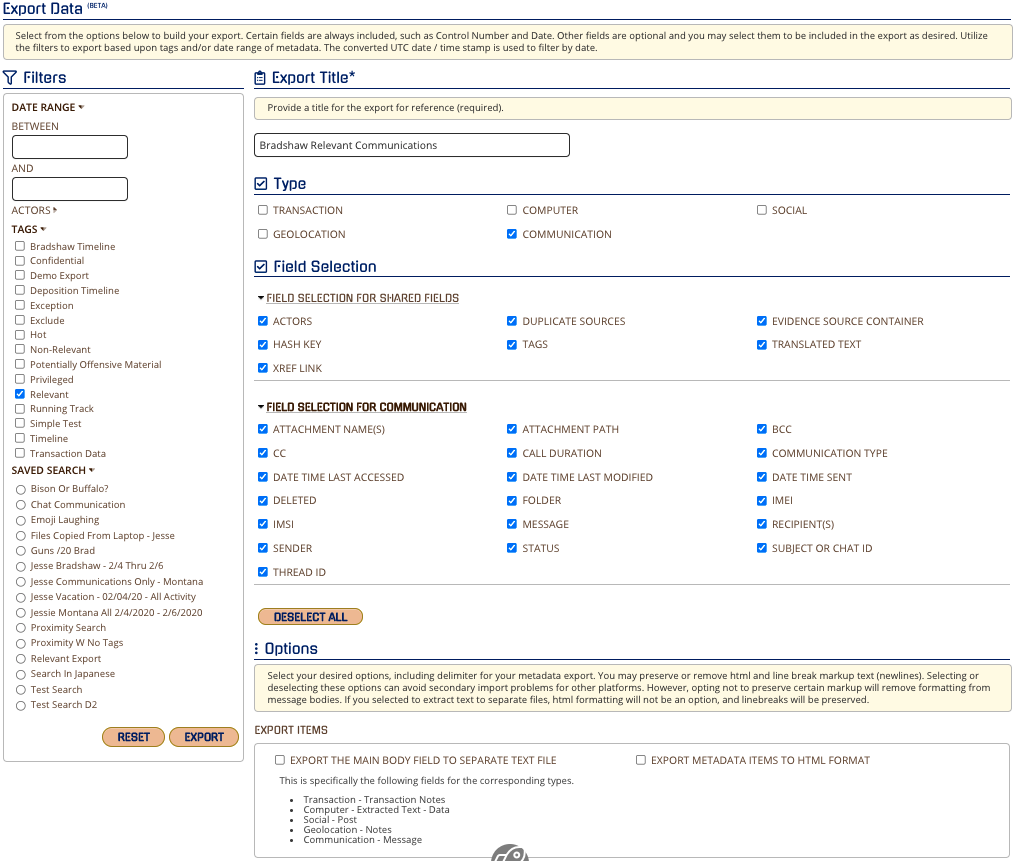
Options for Export

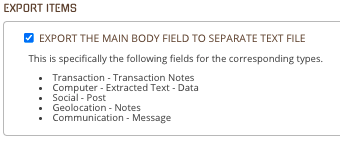
Once you have your title, you will want to determine the fields you want to export to your CSV, DAT, Pipe or Tab-delimited load files. The main item to note is how you want to manage the “message” content. Do you want that in the load file or a separate file? If you want them in a separate file, you can select “Export Message to a Separate Text File” and your export will have the text messages in a separate file and NOT in the load file.
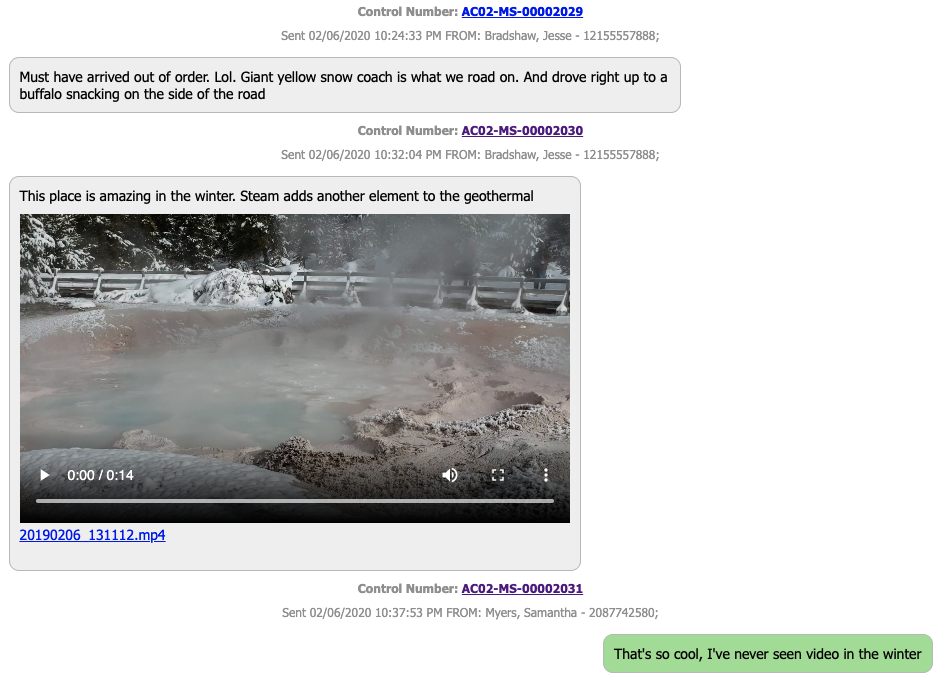
If you want to have the 24-hour and/or full chat thread views, you can select those threads and you will have an HTML rendering of those conversations. You can also keep the family groups together when exporting email.
The option for a 24-hour thread is the selection: INCLUDE 24H CHAT THREADS (INCLUDES FAMILIES).
The option for a complete thread between sender(s) and the recipient(s) for ALL messages in one HTML rendering of the thread is: INCLUDE FULL CHAT HISTORY (MASTER THREAD).
Example of part of an HTML export of conversation
When expanding to full chat threads, you run the potential of pulling in items that have been tagged with something which you don’t want to produce. You can either NOT include those by selecting “Exclude Selected Tags” and select the tags you don’t want to be exported. These items will not be included as if they were never there.
If you want to put in a placeholder or redaction for those complete messages, you can select “Include Placeholder for Excluded Items" and then input the text you would like.

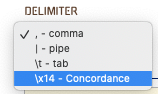
Lastly, select your delimiter that you would like for the export with the dropdown.
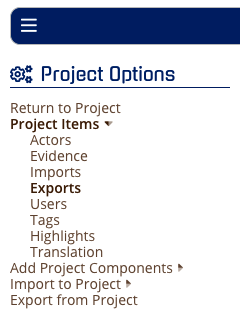
Click Export and your items will immediately begin exporting. You can check the status and download your exports under Project Options > Project Items > Exports
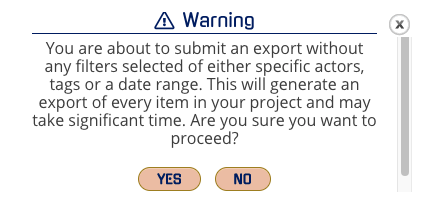
Note: If you export WITHOUT selecting any filter, the entire database will export. You will get a warning where you can confirm or cancel this export.
⚠️When opening CSV and Excel attachments be cautious of Scripts and Macros embedded in these files.