As a Partner Admin you can create a new Client at any time. Within each Client, Projects can be created to which all Client Admins assigned to that Client will have access. This is a way to easily keep permissions for a specific set of Projects isolated to a specific Client and their designated Admins and Users.
Creating a Client
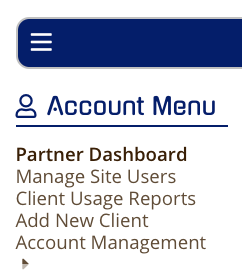
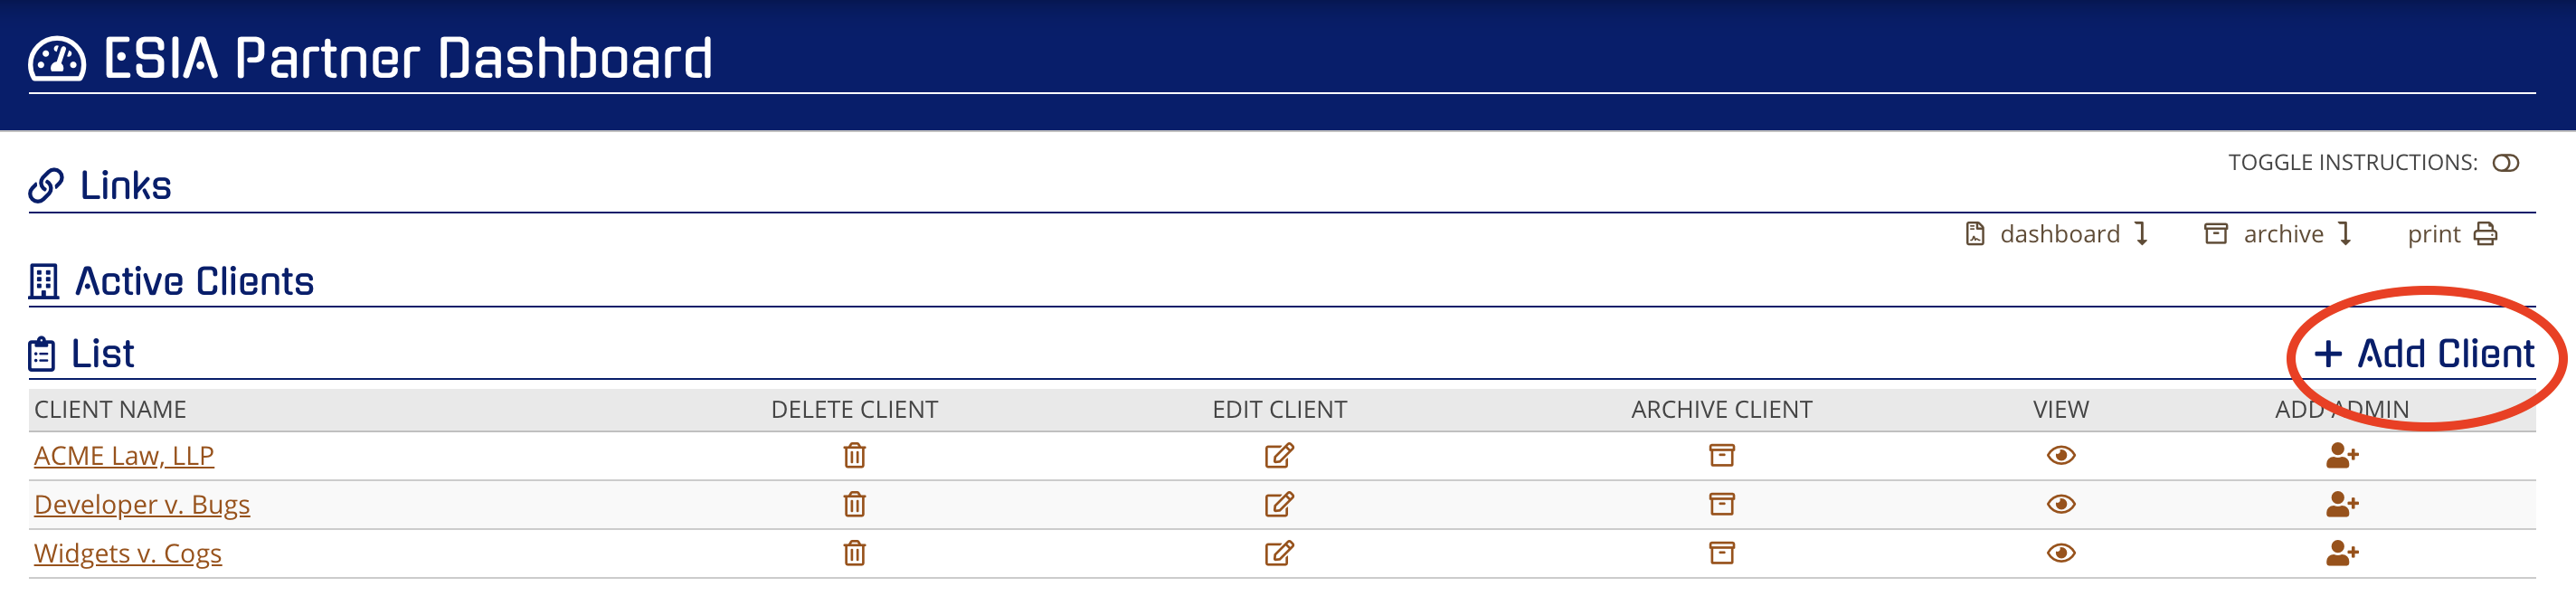
To create a new Client navigate to your main Partner Dashboard that lists all active and archived clients. To navigate to the dashboard click on either the dashboard link in the top navigation bar or “Partner Dashboard” in your Account Menu.
Header link:

Account menu:
Once in your dashboard you will see your Active Clients List. To add a client click the "Add Client" link in the upper right corner of the list.
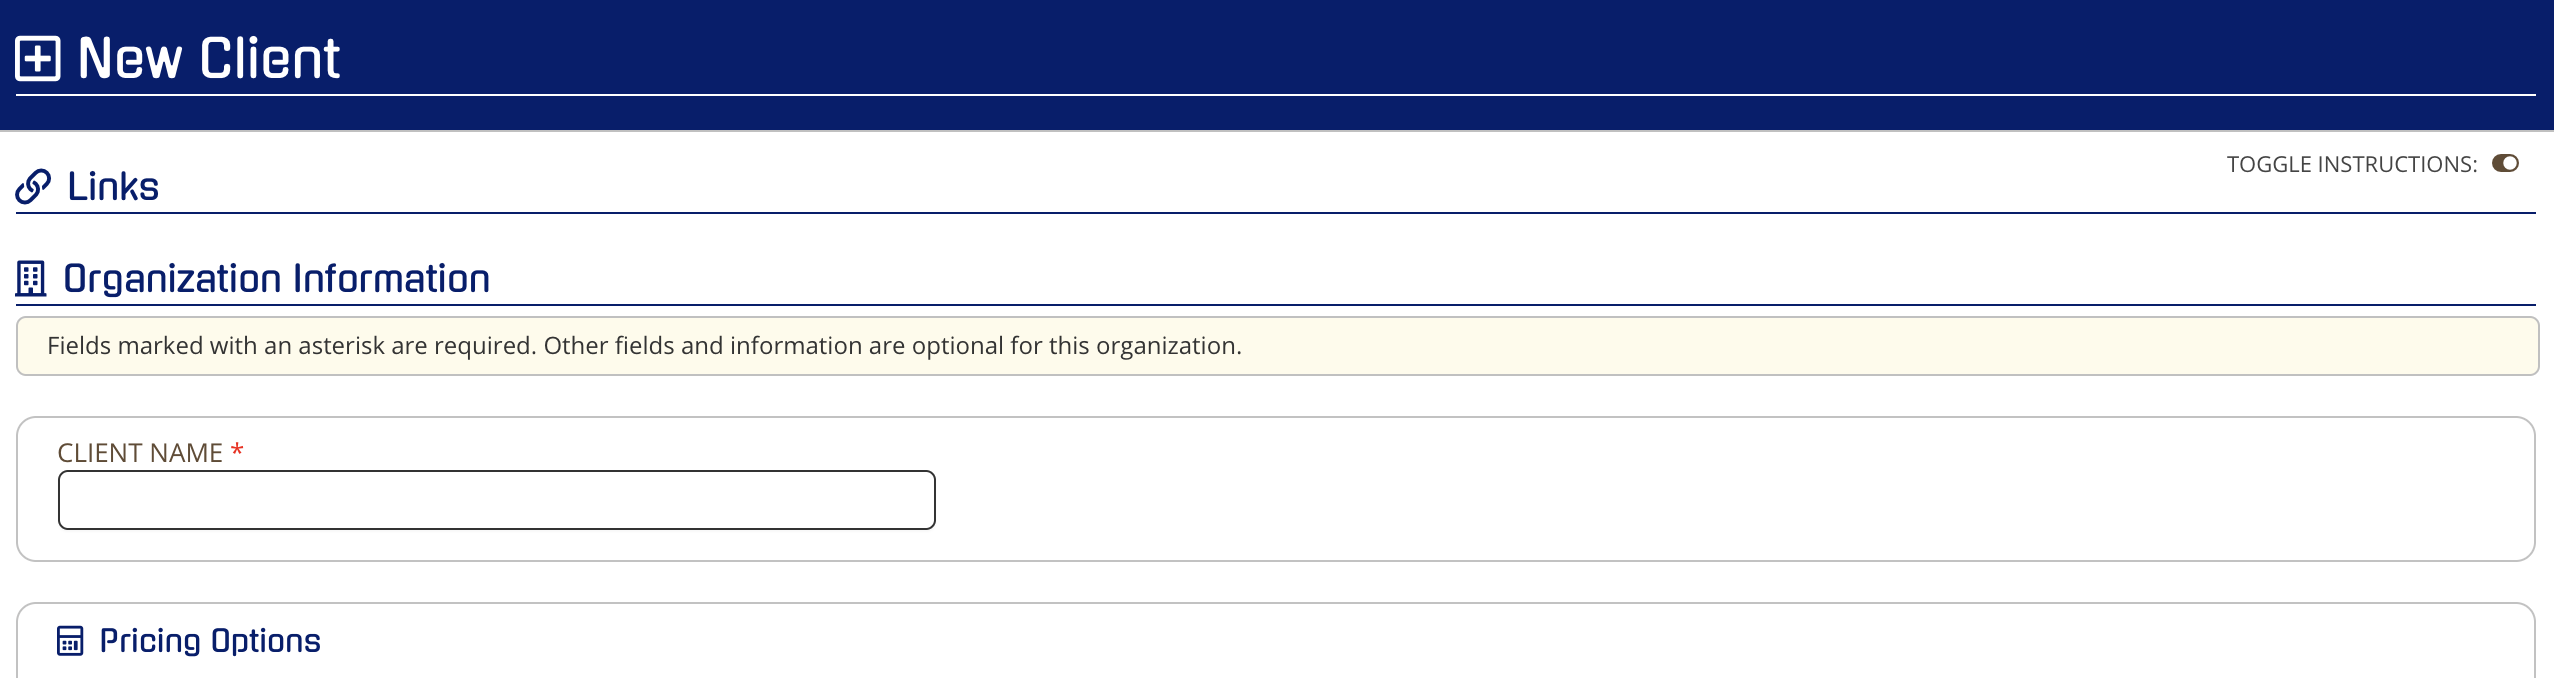
Clicking this will launch the "New Client" form.
The only required field is the actual Client Name. However, within this form you have the capability to configure your resale pricing for CloudNine Analyst so as to quickly allow for Client level usage and billing reports to be generated at any time via your Client Usage Reports interface. Pricing for a client can be updated at any time by editing the Client information (Pricing Options not displayed).
Click Save and the new Client will be added to your Client Dashboard. Now you can select this Client and add new Projects as desired. Each Project created will inherit this Client's administrators. Project Admins and Project Users will need to be assigned separately.
Editing an Existing Client
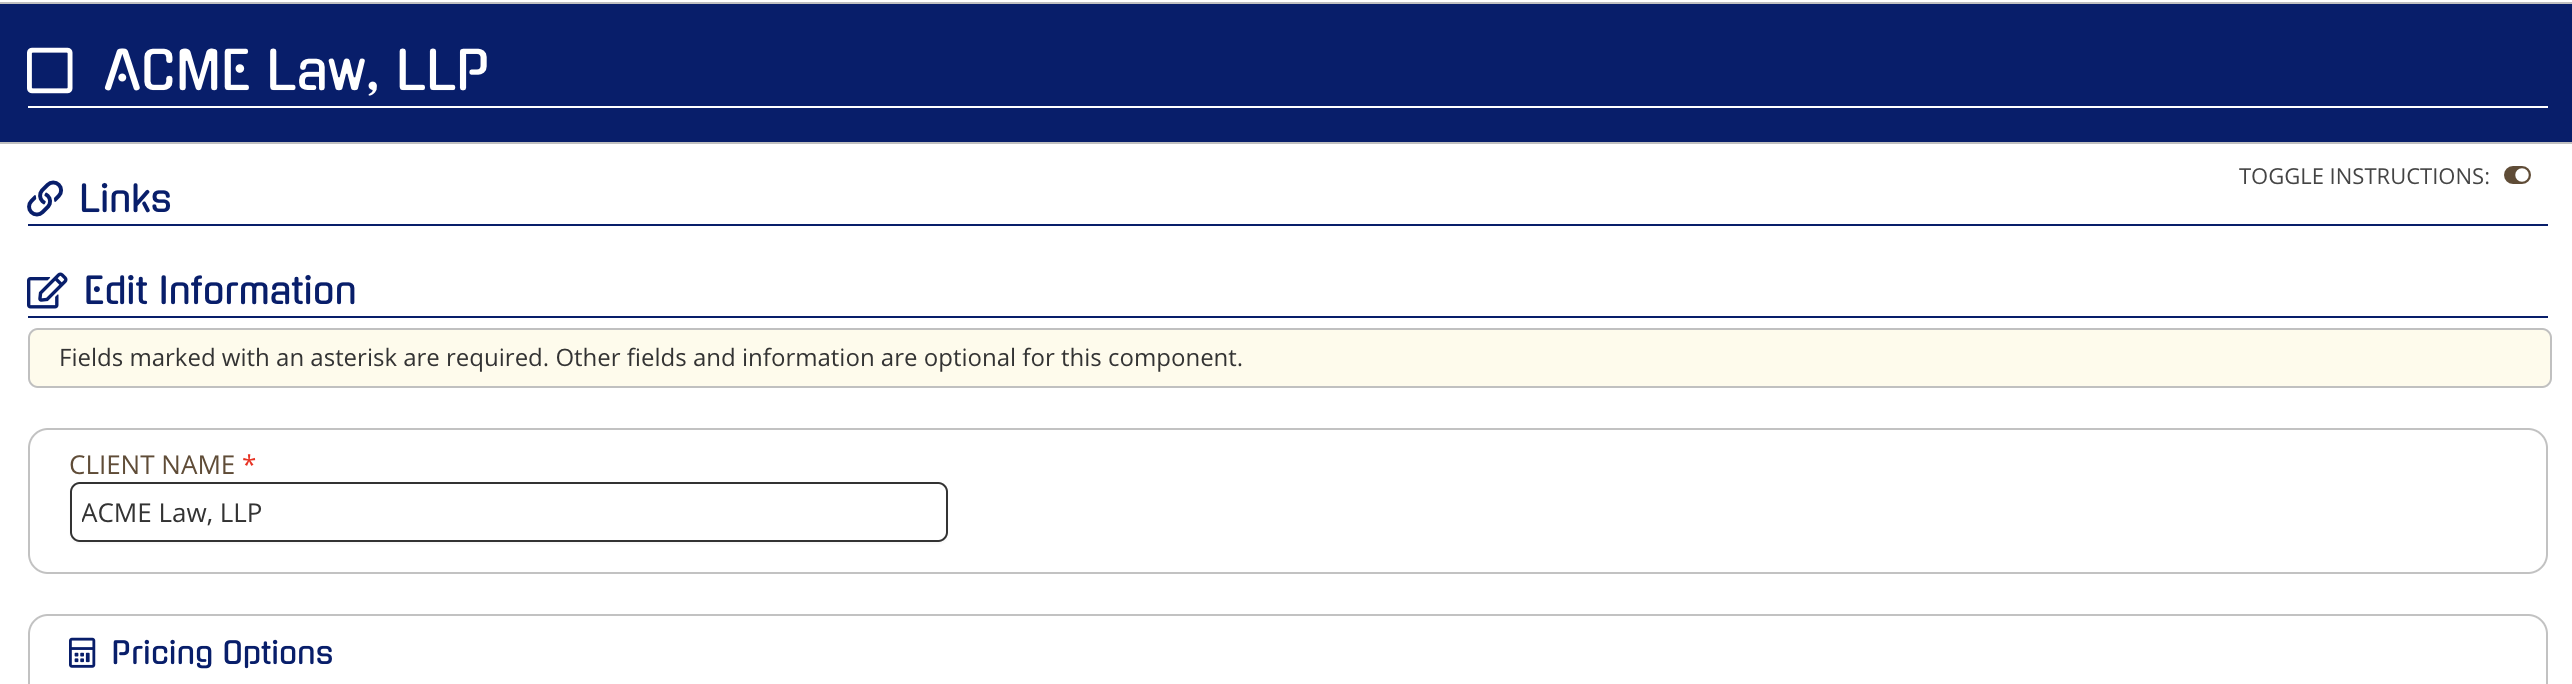
To edit an existing Client, you will need to navigate to your Partner Dashboard and click on the edit icon under the column header "Edit Client"
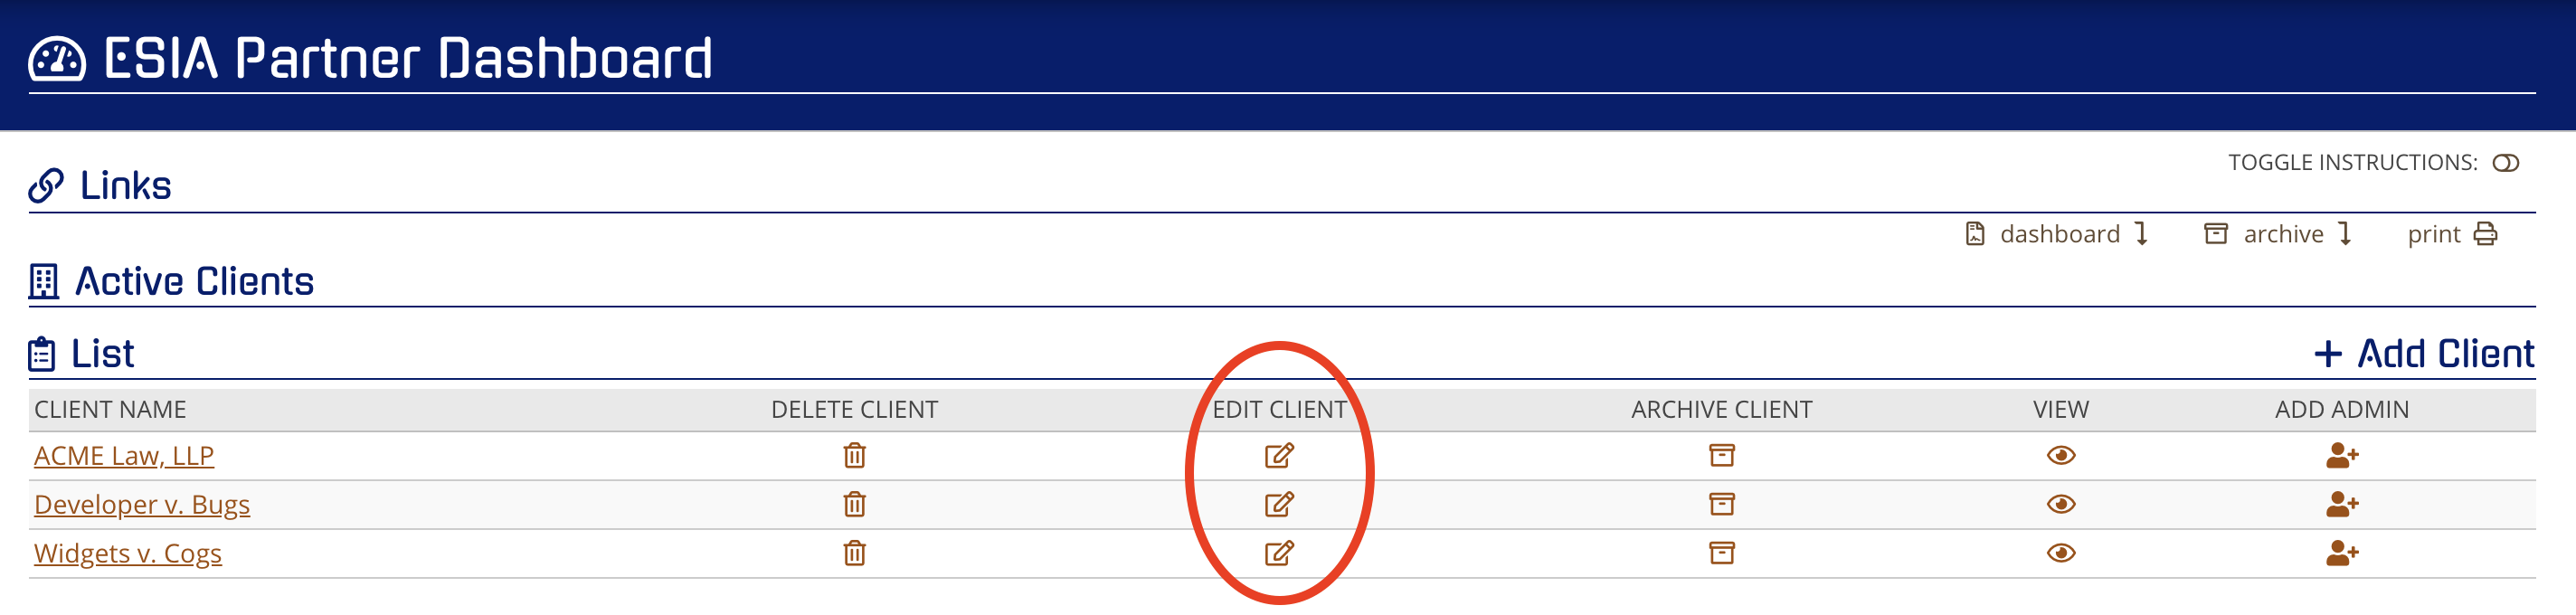
Clicking this will open the Client form with the current information as entered during creation. You can freely edit any of this information and then click save (Pricing Options omitted from screen capture).