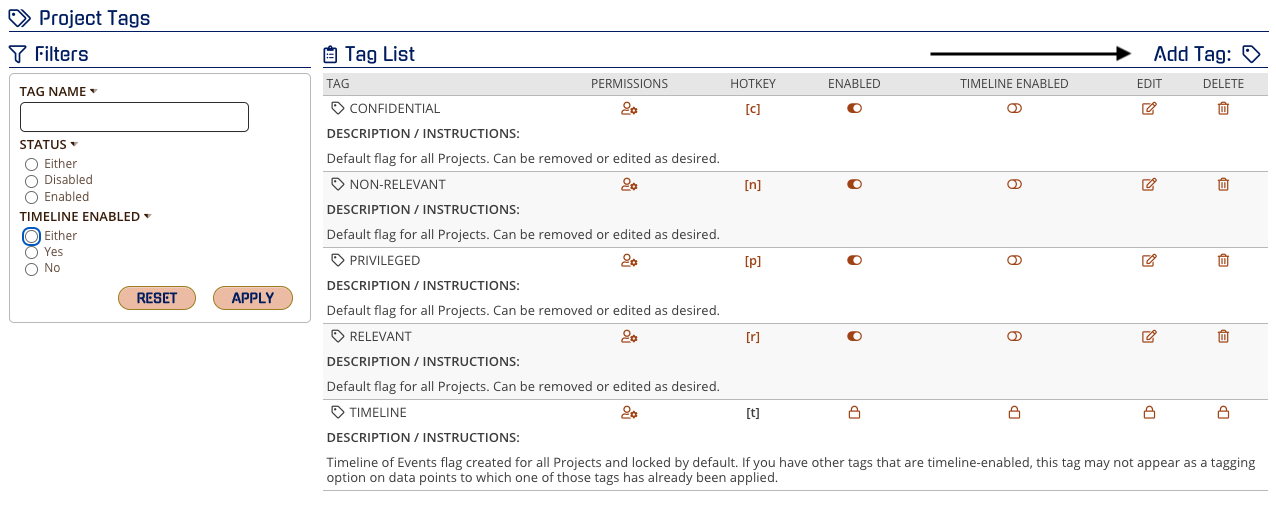
As an administrator of any level, you can add, edit or delete tags when you are in your project. By default, CloudNine Analyst provides these standard tags:
- Confidential
- Non-Relevant
- Privileged
- Relevant
- Timeline
Where to Create Custom Tags
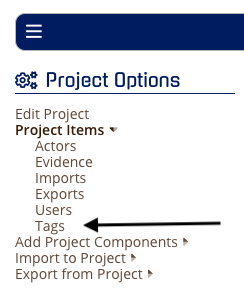
If you have a long list, you can use the filters on the left to get to the desired tag where you can enable, disable, enable/disable automatic “add to timeline”, edit or delete.
To add a new custom tag, click on the “Add Tag” icon.
Note: Once a tag is used, you will no longer be able to edit that tag.
Creating a Tag
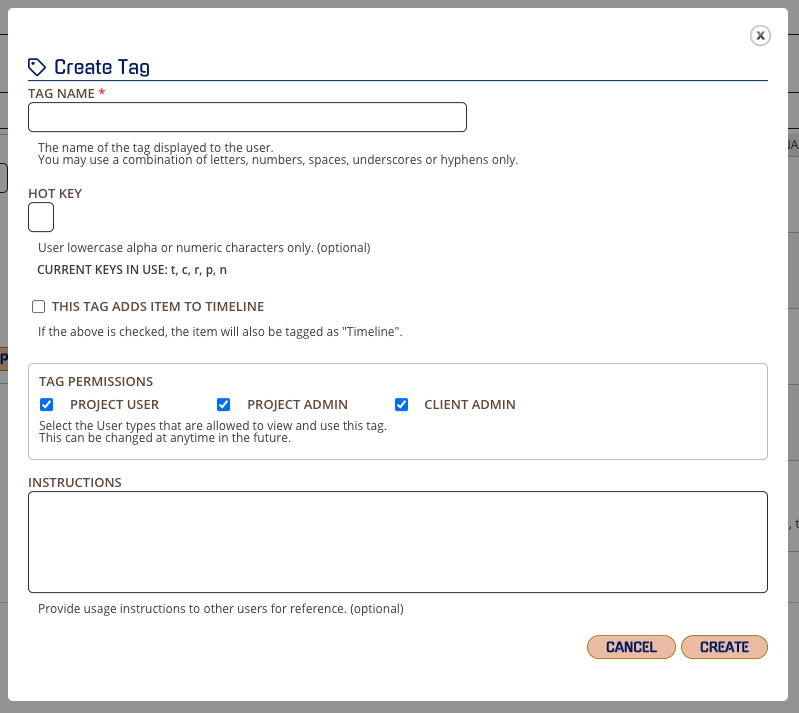
When creating a tag, you name your tag as you would like to see it in your tagging panel.
You can create a shortcut or “hot key” where you can tag from your keyboard. You will see which keys are in use and can choose other characters for your shortcut.
If you would like the system to automatically add a certain tag to a timeline, select “THIS TAG ADDS ITEM TO TIMELINE” and any time that tag is used for an item it will automatically add to the timeline found in the Analysis Tools or in your Review and Analysis link “Timeline of Events”.
The Tag Permissions will show if the user fits any three of the profiles of:
- Project User
- Project Admin
- Client Admin
You can add instructions for the tag to communicate to the team when to use the tag.
When complete, click CREATE and the tag will show in the project
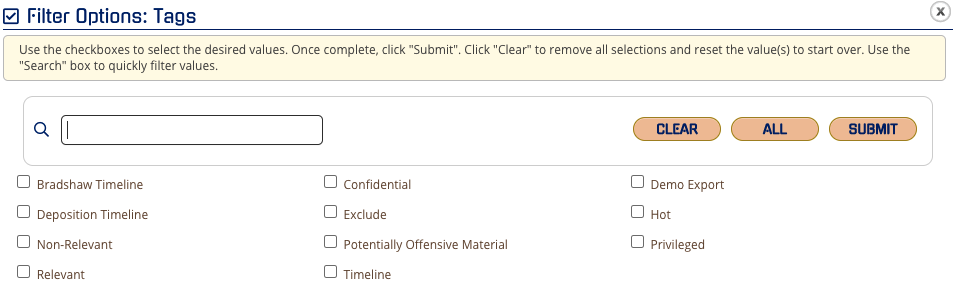
You will see your tags throughout all Analysis Tools and Review filters. When there are more than 10 tags, you will see a way to "pop-out" the tags to select and filter. Click the small box with the arrow.
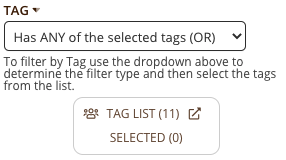
You can then select multiple tags, filter to quickly find the desired tag, and once selected, you can click Submit and you will have your tags applied to your filter.