- Help Center
- CloudNine Analyst
- Projects
-
CloudNine Training Videos
-
Did You Know?
-
CloudNine Analyst
-
CloudNine Review
- CloudNine Review Video Library
- Section 1: Getting Started
- Getting Started: My Projects
- Section 2: Understanding Different Views
- Section 3: Searching
- Section 3A. Smart Filters
- 3b: Search Term Lists
- Section 4: Working with Documents
- Generating Images
- Exporting/Producing
- Section 5: Administrative Functions
- Reporting
- Frequently Asked Questions and Issues
- EULA
-
CloudNine Discovery Portal
-
LAW
-
Explore
-
Concordance
-
Concordance Desktop
-
On Premise Software Q&A
CloudNine Analyst: How to Create a Project
How to create a project in CloudNine Analyst
In the Project Dashboard that shows all active and archived projects, you will see a “+Add Project” near the top right of the screen.
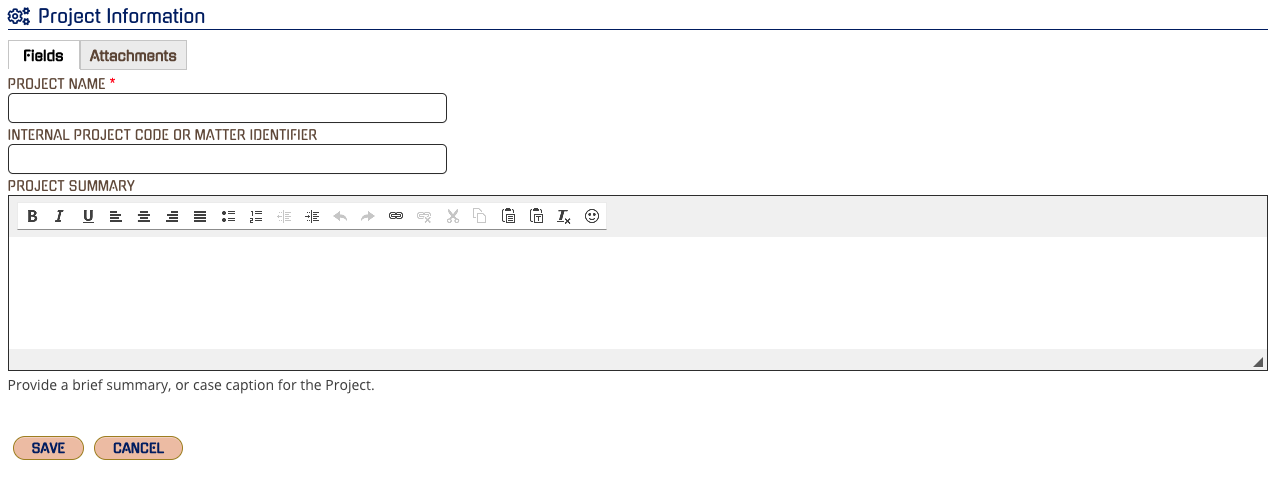
Click on "+Add Project" and input the Project Name (required) and Internal Code (Optional) and Project Summary (Optional).
You can also upload attachments like ESI Protocols, internal reference documents or instructions.
Click Save when completed and the new project will be immediately created and available. You can always edit project information in the future.