CloudNine Analyst: How to Add or Edit a Client Through ESI Desktop
How to Add or Edit a Client Through ESI Desktop
Adding or editing a client is a matter of clicking on either the Add Client or Edit Client button and providing a client name or editing the current client’s name. When new clients are added they will appear immediately in both ESI Desktop and online in CloudNine Analyst and are ready for data loading.

Adding a Client
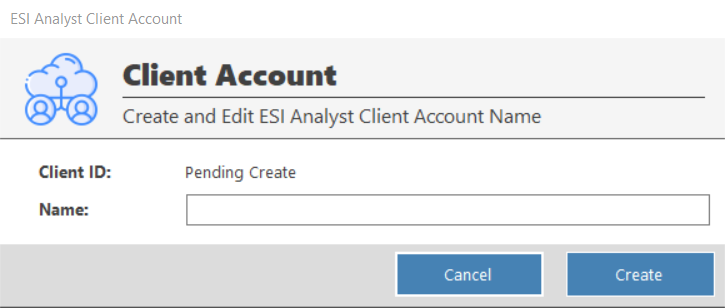
If you need to create a client, you can do that in either CloudNine Analyst in your site or you can create a client with ESI Desktop by clicking "Add Client" on your toolbar.
You will be presented with a screen to put in your Client Name. Once input, you can click "Create" and your client will be created in both Desktop and CloudNine Analyst.

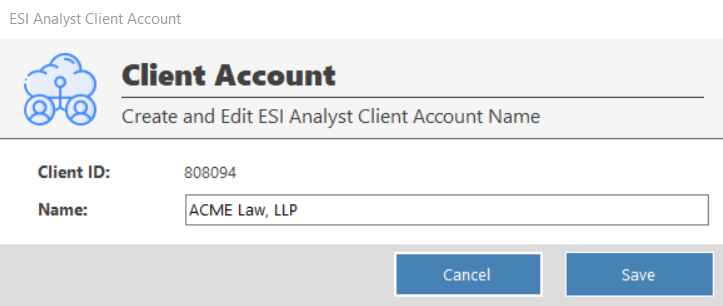
Editing a Client
If you need to edit your client name, you can do that by clicking "Edit Client" updating your client name and then clicking "Save".

