
When first setting up a project, determine your important actors to build profiles in CloudNine Analyst. The first and most important are the owners of the devices being loaded into CloudNine Analyst, but you will want to identify initial key "actors" or contacts on the device, social media screen names, email addresses, etc. so those actor names can be associated with these accounts. Once actor profiles are created and associated, you will see their actor names as part of those items where they are a part of the conversation, computer activity, financial accounts, social media activity, or other data categories.
To add actor information, there are three main options.
- Manually add information
- Import actor information
- Create actors while in review
Manually Add Actor
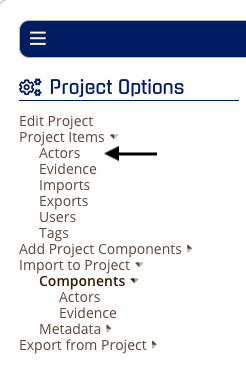
To Manually add information, go to your Project Options, expand Project Items and select Actors.
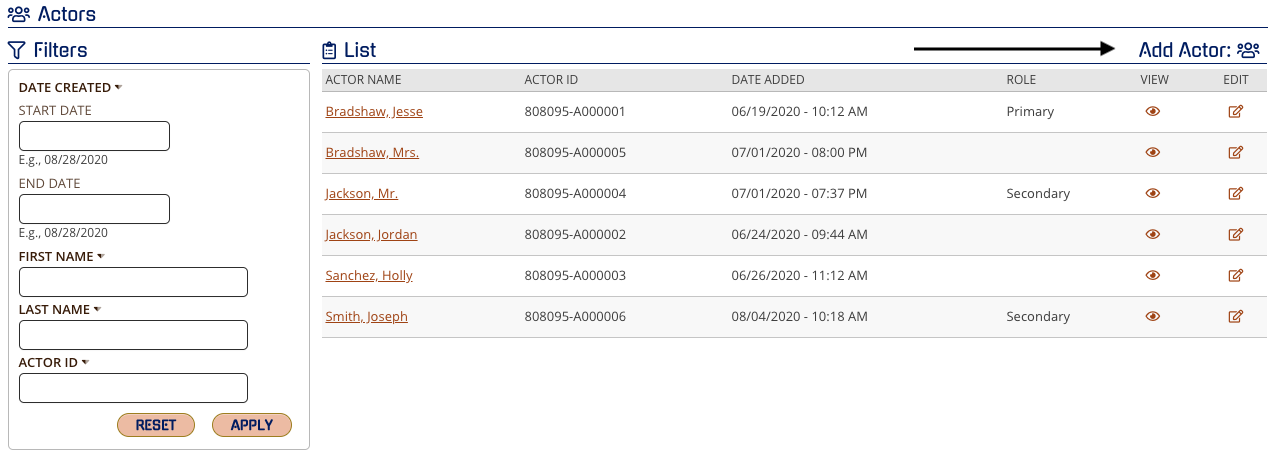
Once the click on the Actors List, you can add, edit, and filter your actors. To add an actor, click on the “Add Actor” icon on the right above the list
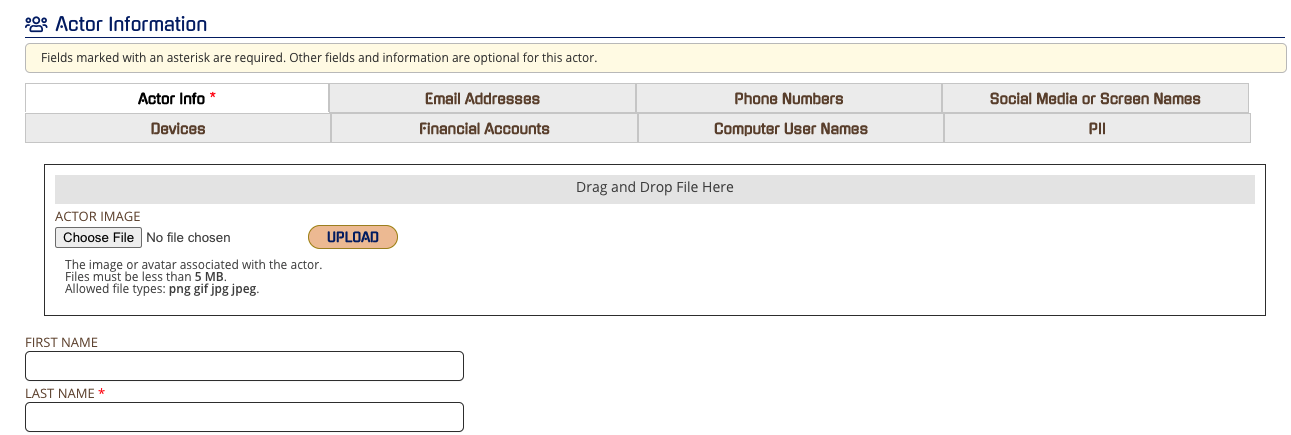
You can now add in the actor's first, and last name and assign the role. The role is the hierarchy of importance that an individual or entity plays in the project. Add optional notes and select the information topics to input the actors information to include: Email Addresses, Phone Numbers, Social Media or Screen Names, Devices, Financial Accounts, Computer User Names and Personal Identifiable Information (PII). You can add multiple items per information topic.
Note: The only required field is the Last Name. IF you only have the first name, you can always use the first name only in the Last Name fields and can always update the actor profile with additional information.
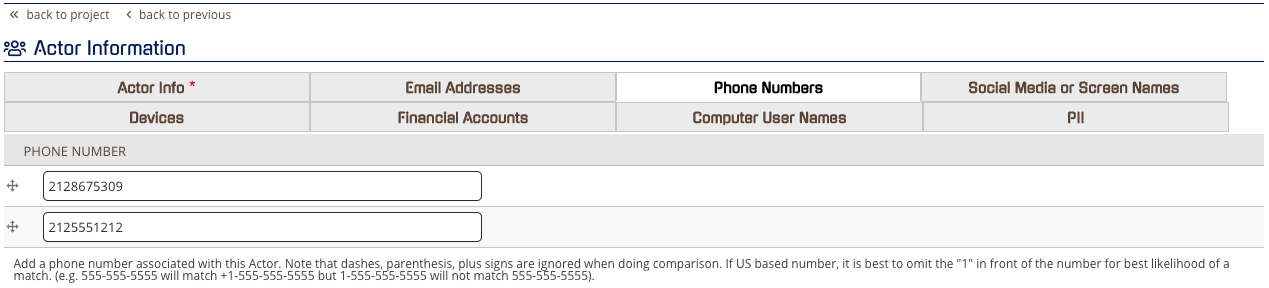
Example: Phone Numbers
Once you have added all of the current information select SAVE.
Note: Every time you click "SAVE", all data points will reassociate to the actor throughout the project even if you didn't make a change.
Import Actor
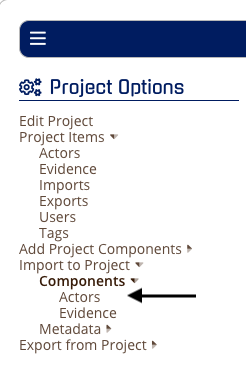
To Import Actor Information, go to your Project Options, expand “Import to Project” expand Components and click on Actors.
Fill out the Import Name and select them as new records or an overlay (updating an already existing actor profile) and add your load file by drag and drop or browse.
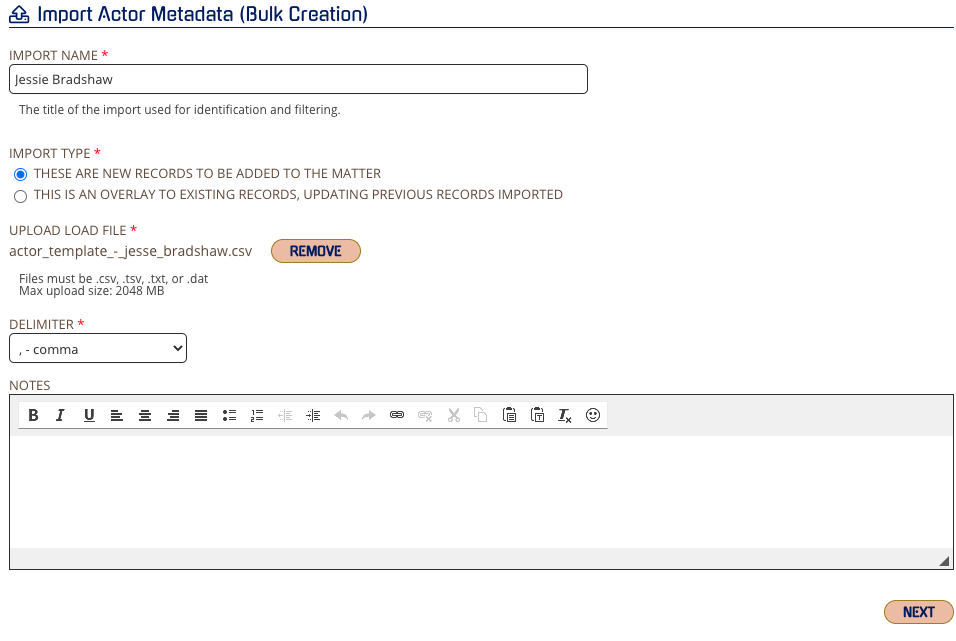
Select the proper delimiter and click NEXT
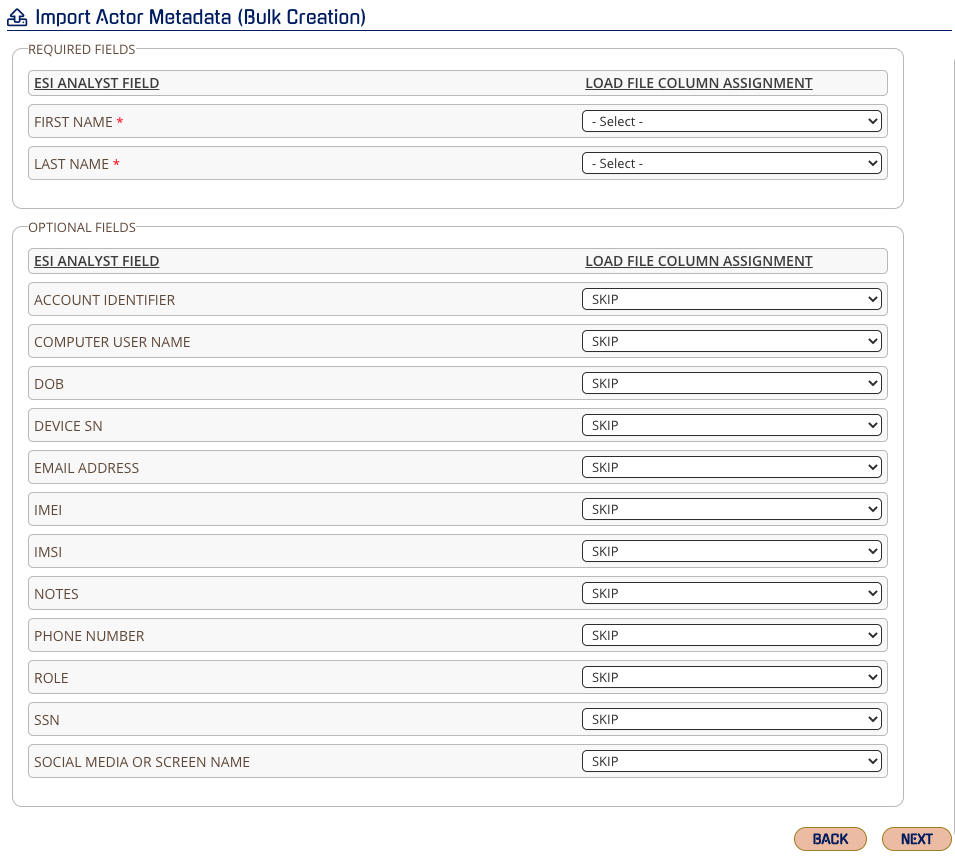
Ensure you properly map the fields and click NEXT
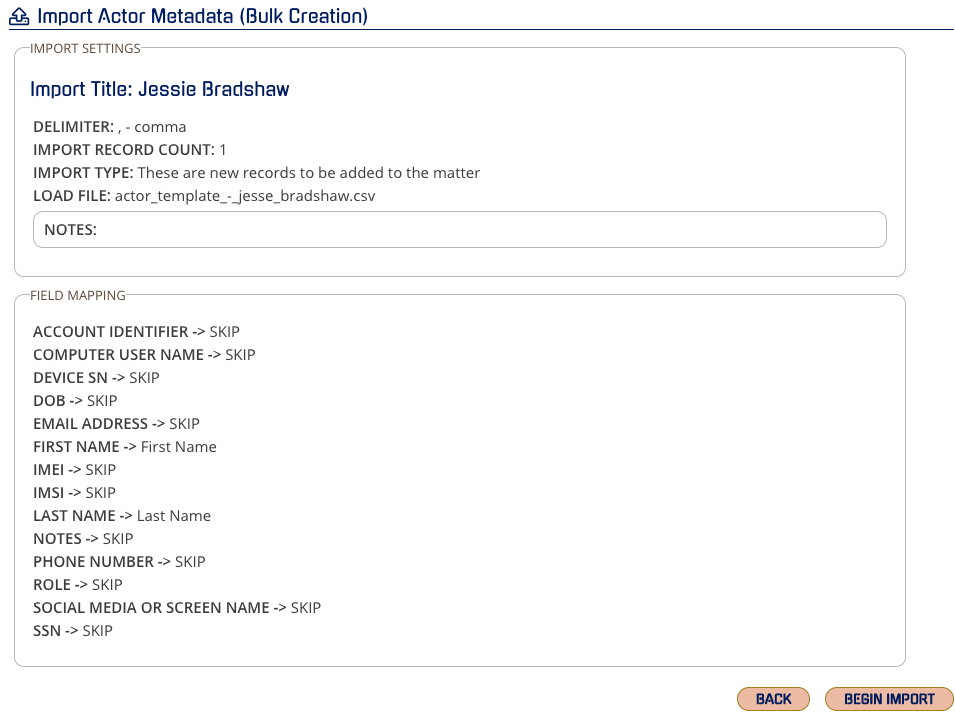
Double-check your field mapping and you can begin importing. If you need to edit, click BACK and correct the field(s).
Create actors while in review
To create actors while you are reviewing, you will see icons under VIEW in your Related Actors expanded view. The “eye” icon is to view the actor profile where you can make any edits, the “double page” icon is where you can create an actor profile on the fly or add that data point to an existing actor. When creating or adding to an actor profile the system will automatically copy to the clipboard the relevant data point. You can simply "paste" that data in the proper field.

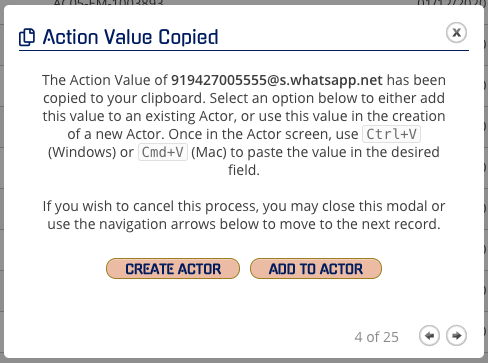
Whether you create or add to an actor, you will follow the same prompts for Option 1: Manually Add Actor.
Note: Your Action Value is copied to your clipboard, so you simply need to use your paste shortcut into the field you would like.