
Click here to watch a video overview on Views
On the first visit to CloudNine, the Database Main Page will automatically display Vertical Document List view. This is the original view offered by CloudNine, and as such, the most often used by clients. It has three main parts to the screen as shown below: (see Figure 7)
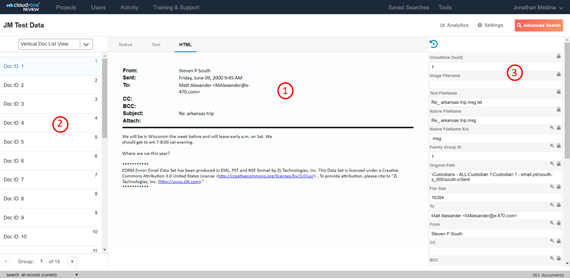
Figure 7
There are three parts to the screen:
- The Document Viewing frame will be populated with the current document -- either the document’s image, the document’s text, the document in its native form, or the document in HTML rendered form.
- The Vertical Document List frame includes a list of the documents in the “current collection” -- that is, a list of the documents you are working with now. It may be a list of documents that were retrieved in a search or it may be a list of all of the documents in the database. One of the documents on the list will be “selected” (the document number for the selected document will be orange). The “selected” document is the current document – you’ll see its image / text / native document / HTML rendered version in the viewing frame on the left and you’ll see data that’s been recorded for the document in the frame on the right.
- The Metadata Information frame includes data that was either extracted automatically from the current document (for example, an author on an email) or recorded by a coder or review team member while analyzing the document (for example, keywords or a tag that the document is privileged). Usually, you’ll find information here like the document date, type, authors, recipients, title, and so on.
2.1(a) - Document Viewing Frame
Use the tabs at the top of the frame to toggle between viewing a document’s image, a document in its native form, the document’s text, or the document in HTML rendered form. Tabs will only appear for the versions of the document that are available. (see Figure 8)
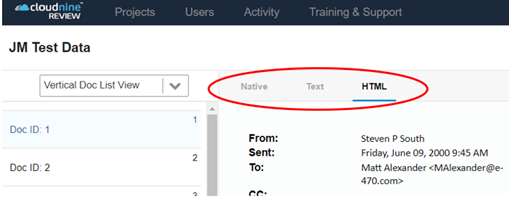
Figure 8
When viewing images, use the page navigation tool to flip through the pages of the document: (see Figure 9)
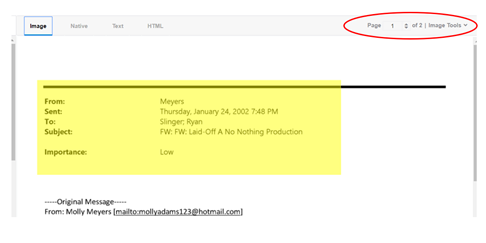
Figure 9
2.1(b) - Vertical Document List Frame
When you work in a CloudNine database, you will be working with a list of documents – it might be a list of documents that were retrieved in a search or a list of all the documents in the database. The list is in the left panel on the project main page. (see Figure 10)
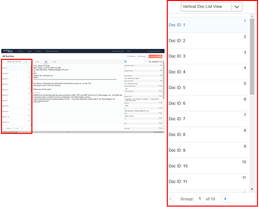
Figure 10
By default, documents on a list are organized into groups of 25. If there are 100 documents on a list, the list will be shown to you in 4 groups of 25 each. This minimizes the amount of scrolling to review a lengthy list and lets you easily hop around to different parts of a list. To move from one group to another, enter the group number in the group tool at the top of the list (or use the arrows to the right of the number to change the number), or click on the vertical bar to the left of the list: (see Figure 11)
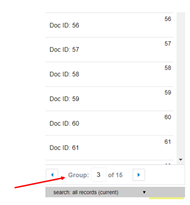
Figure 11
Click the Settings button to use the sort tool and change the order of documents on the list. Click in the first part of the sort tool to select the field on which you want the list to sort, and use the second part of the sort tool to select ascending or descending order: (see Figure 12)

Figure 12
Look to the bottom right corner of the screen to see the total number of documents on the current list. In this example, there are 361: (see Figure 13)
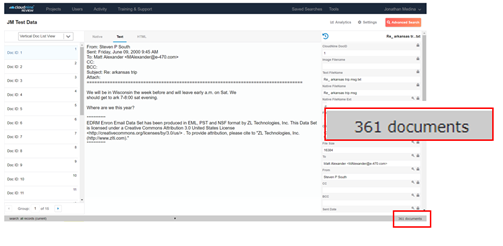
Figure 13
When you work in the database, you are likely to do searches and work with several lists. Note that the current search is listed in the bottom left-hand corner of the screen. To retrieve any of the previous searches you’ve performed in the current session, click on that button and you’ll see those searches displayed: (see Figure 14)
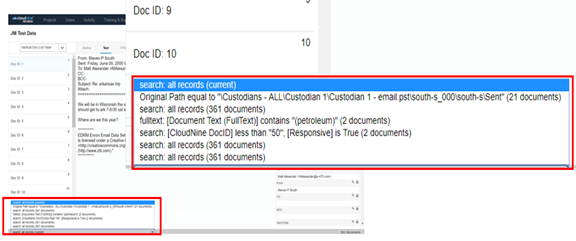
Figure 14
2.1(c) - Metadata Information Frame
Data for the selected document appears on the right side of the database main page: (see Figure 15)
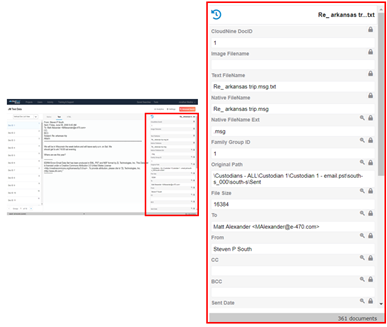
Figure 15
Every piece of data that has been recorded for a document (or extracted in an automated process) is recorded in a field in this frame. Typical fields include Bates numbers, authors, addresses, dates, subject lines and so on. Fields vary from database to database. Basic fields are defined when a database is established. Users add others as they work in a database.
Each user can customize the Indexed Information Frame by determining which fields will display in the frame and the order in which the fields will display. Click on Tools in the top right corner of the screen and click the Modify Fields option: (see Figure 16)
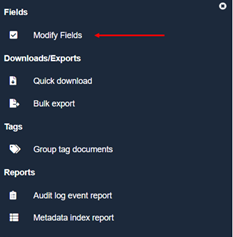
Figure 16
On the next screen, select the fields to display by clicking the “Eye” Icon. In the frame and drag the fields into your preferred order using the “4 horizontal line” icon or send the field to the top with the “arrow” icon. :(see Figure 17)
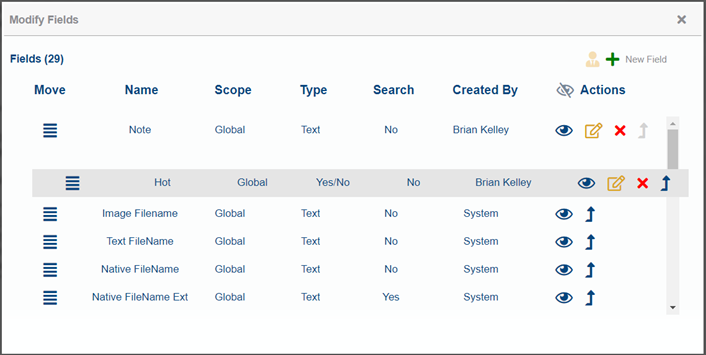
Figure 17
CloudNine provides pictorial cues that provide useful information about a document. At the top of the Indexed Information frame, a series of icons will appear. These icons will vary from document to document and only appear when applicable. In this example, five appear: (see Figure 18)
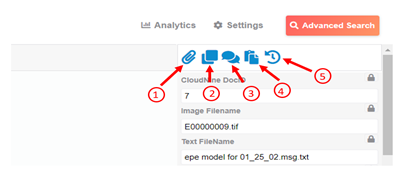
Figure 18
Hover your cursor over an icon and a description will appear. In the example above, the icons tell us this:
Icon 1. This is a “parent” document – a person icon would signify a child document.
Icon 2. They're “similar” documents in the collection.*
Icon 3. There “Conversation” documents in the collection.
Icon 4. There “near duplicate” documents in the collection.*
Icon 5. You can click here to view the document’s history (information on when the document was viewed, annotated, downloaded, edited, printed, tagged, and so on).
*If you click the second, third or fourth icon (for similar documents and near-duplicates), CloudNine will execute a search for those documents and open the results in a new window so you won’t lose your current place in the database.